
Horror Photography Tips
Horror photography for me has very little to do with gore or buckets of fake blood, even though it is nice to work with sometimes. My preferred style of horror actually works on suggestion. The scariest images leave a gap and let the viewer fill it in themselves with their own imagination, which is always worse than anything you could have shown them.
I shoot dark, eerie portraits year-round around Somerset, UK.
Most of what makes my images work happens long before I pick up a camera.
This guide is full of my favourite horror photography tips to get you started with your own.
What Is Horror Photography?
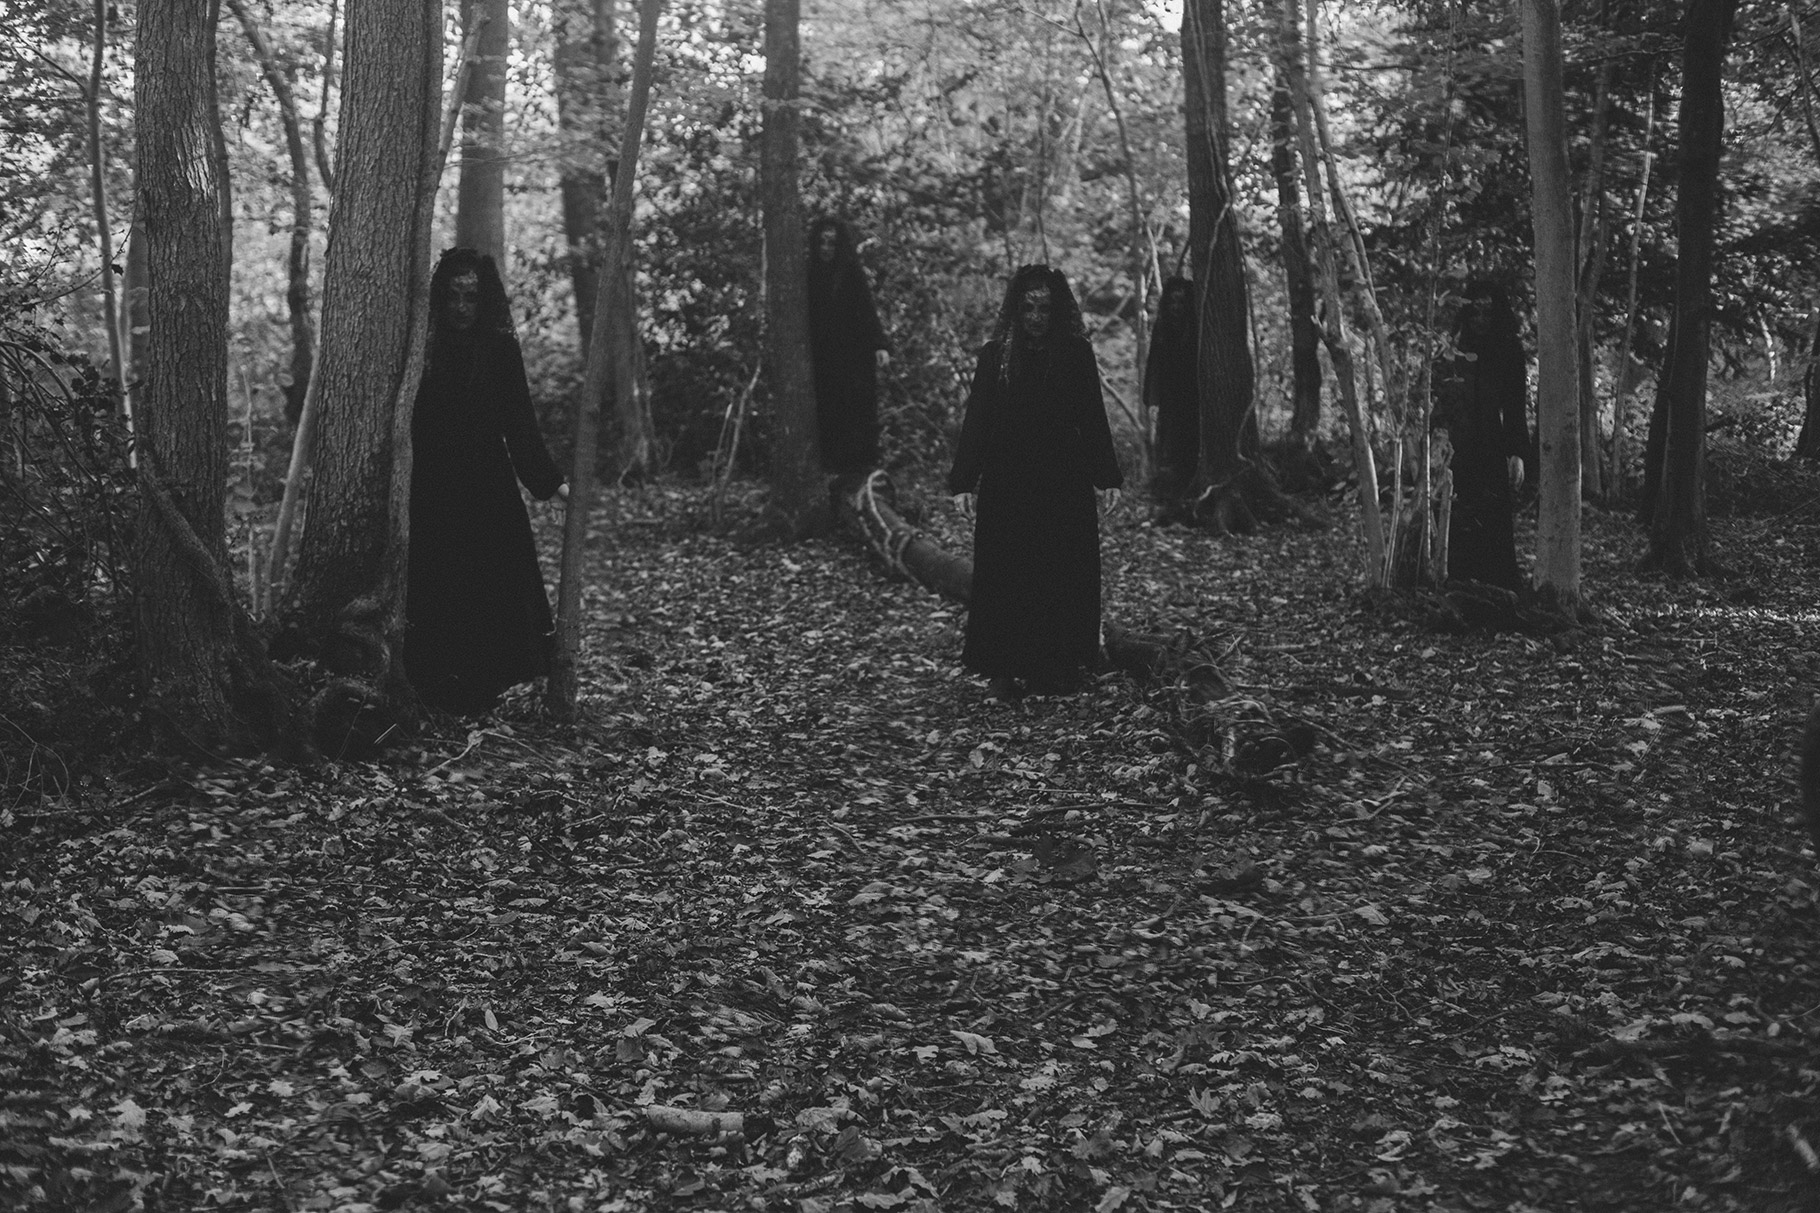
Horror photography is any photographic work made to unsettle, frighten or disturb the viewer. It is a broad genre with many different interpretations, and photographers tend to have their own niche.
Some horror photo styles to consider:
- Practical and SFX horror. Creature work, prosthetics and makeup.
- Gore and body horror. Explicit, physical and confrontational. Think of slasher cinema.
- Atmospheric horror. Moody and quiet. Think of empty rooms, or a sense that something has just happened or is about to.
- Supernatural horror. Photographs that depict ghosts and hauntings.
- Folk horror. Rooted in rural isolation, old belief and ritual. Figures in landscape, masks, fire, harvest, standing stones.
- Gothic and fine art portraiture. Think of Victorian mourning imagery, romanticism and religious painting.
- Documentary and found-image horror. Deliberately taken to look like the viewer has found the image in an old attic or is actually there at the time, so it reads as evidence rather than art.
- Surreal horror. Meant to be thought-provoking and relies on images that defy logic. Typically dreamlike.
- Seasonal and costume work. Halloween portraits, event photography, horror cosplay etc.
My work is mostly focused on folk horror, supernatural and surrealism, but it is always a joy to dabble in other horror work from time to time, and there are always opportunities to mix these styles up.
How to Brainstorm a Horror Photography Concept
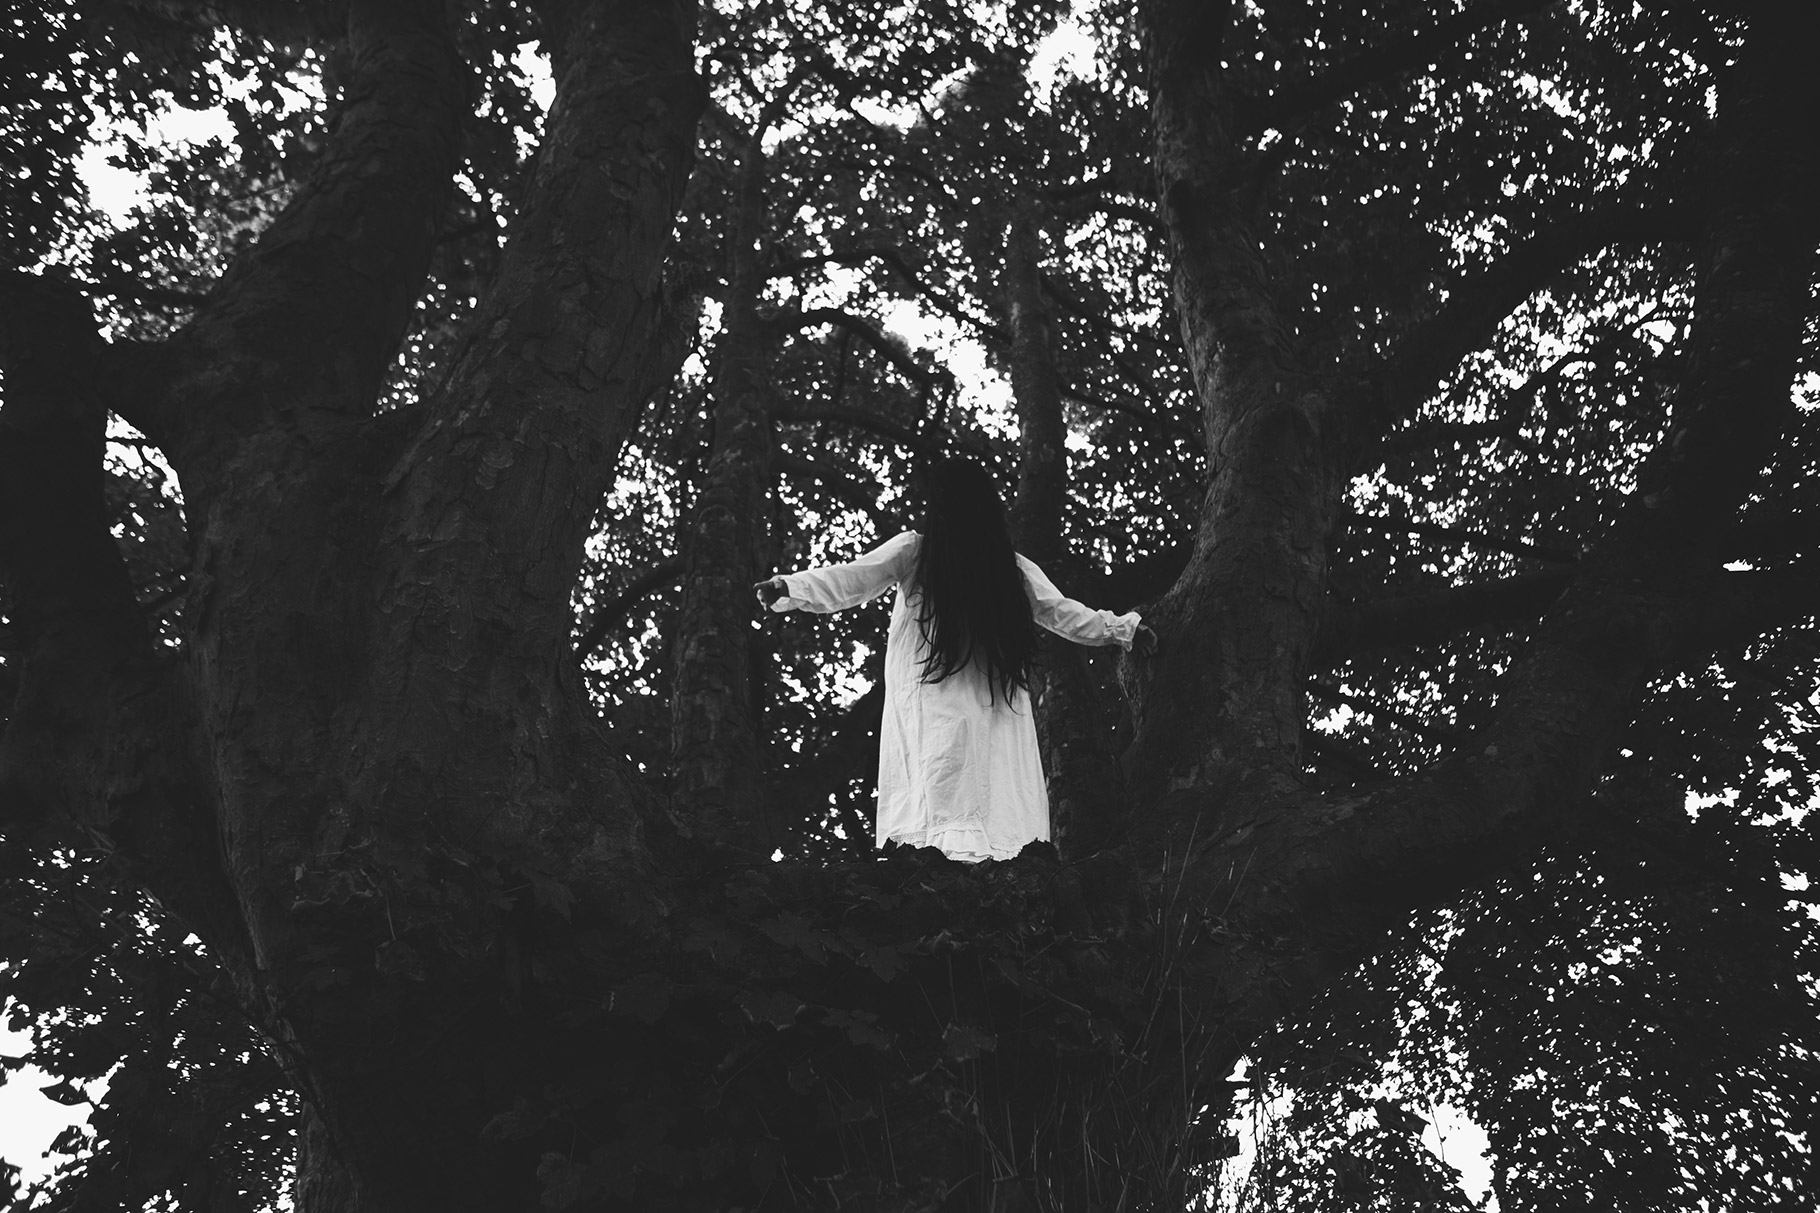
Every shoot I do starts on paper or my phone notes (I prefer a good notepad).
Start with one source of inspiration and build outwards from it.
Start with:
- A folk tale or local legend
- A line from a poem or a song
- A recurring dream
- A book that has played on your mind
- A place that has always unsettled you, even if you cannot say why
Start writing a list of single shot ideas from your inspiration.
Here is an example using this photo of mine:
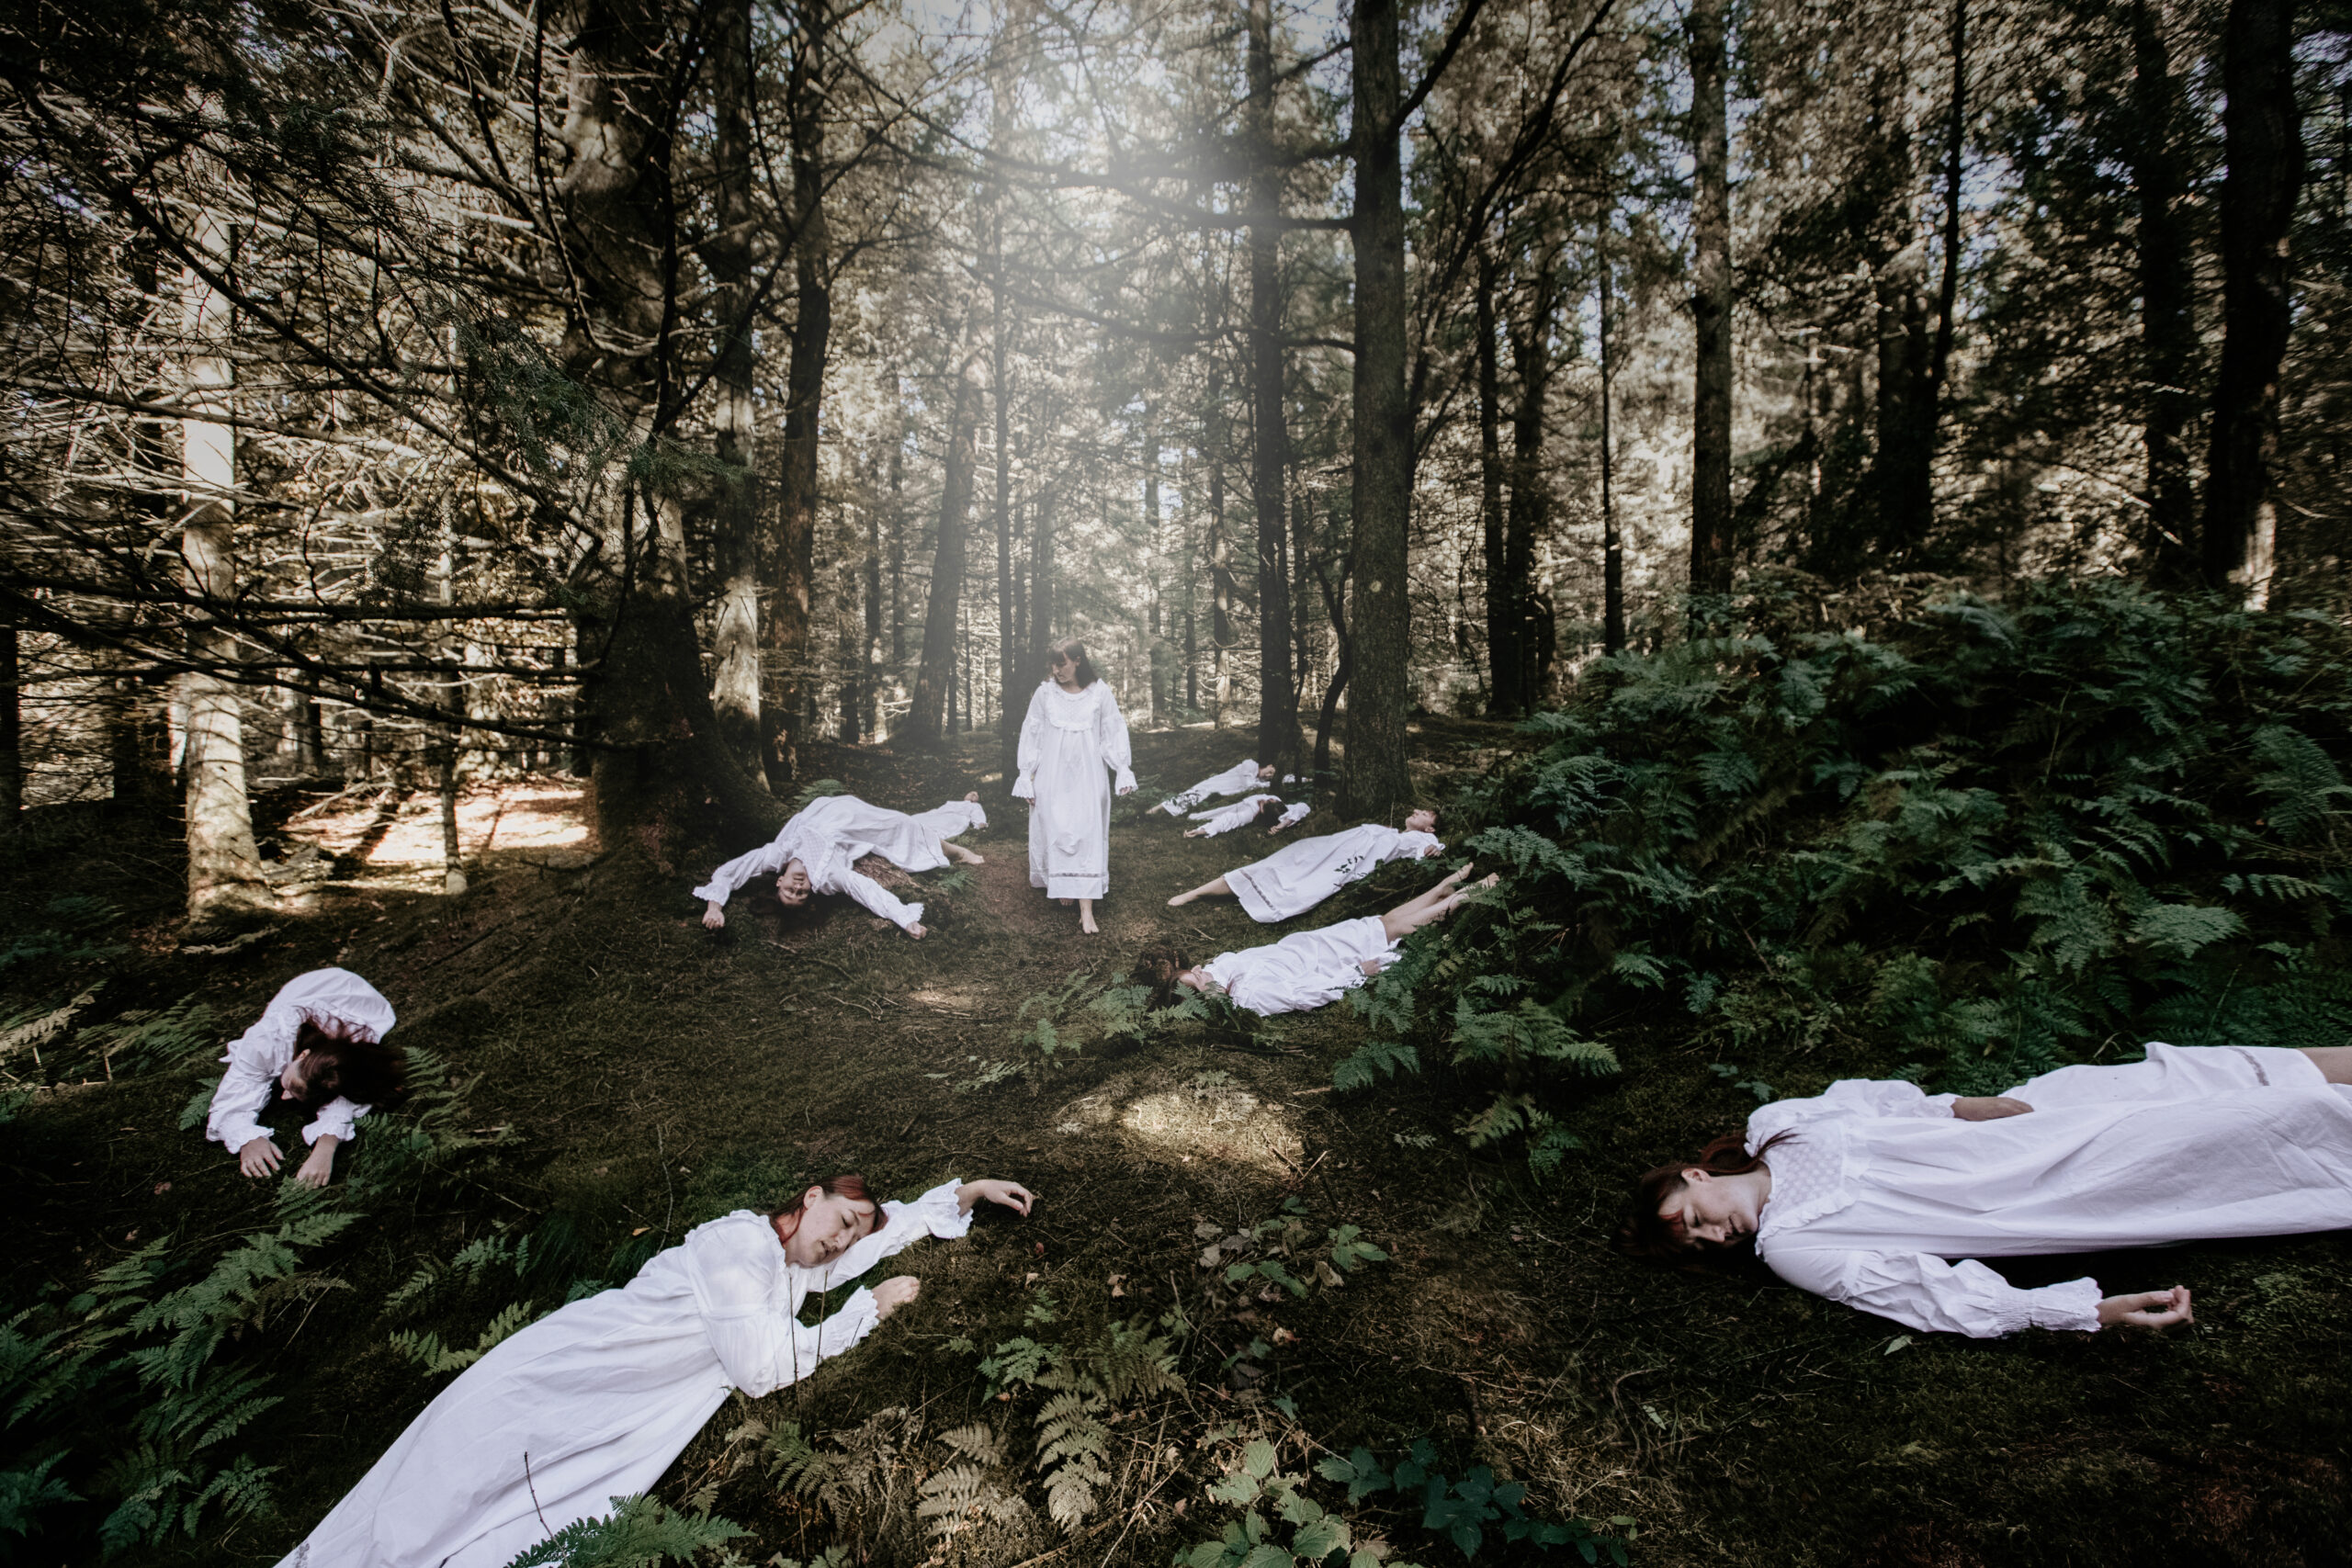
Source of inspiration: A recurring nightmare that I had as a child where I kept seeing dead bodies, but they were all me.
Shot idea: A composite of several shots taken of a model walking through a pathway of her own dead bodies in the woods.
Build a mood board
Once you have a concept, gather references and make a mood board (Pinterest is great for this). Pull from film stills, paintings, album artwork and old documentary photographs rather than other photographers’ portfolios. If you only look at horror photography, you will end up remaking a picture that already exists.
15 Horror Photography Tips:
1. You need less equipment than you would think
You need less than you would think. The core kit is short:
- A camera that copes well at high ISO. You will likely be working in low light, rather than bright airy conditions.
- A tripod. A lot of horror techniques depend on this, but it definitely helps if you are shooting in low light.
- A remote shutter. If you are compositing or using your tripod for long exposure, I highly recommend using one so you do not experience camera shake between frames.
Beyond that, a wide lens makes a location feel like it is closing in on your subject, and a longer lens flattens everything and isolates a figure among the trees. Both are useful, neither is essential to begin with as you can get away with a decent portrait lens. I started on a nifty fifty.
The beauty of horror work is that it lends itself really well to low-budget or DIY setups, so you do not need to start off with a lot of expensive kit.
2. Scout locations that work well with your theme
A good location is everything!
If your theme is folk horror, then a bright office building isn’t going to work, but it WOULD work for surreal horror or something like the backrooms.
The right location helps to build atmosphere in your image and helps sell the story.
My top tip to scout the perfect location is to go out for lots of walks, look on OS maps for anything interesting on public pathways, drive down country lanes outside your typical route, etc.
Just be careful with abandoned buildings; they are generally not safe, have a lot of security and people tend to ruin them or set them on fire. Shooting outside of them can work just as well.
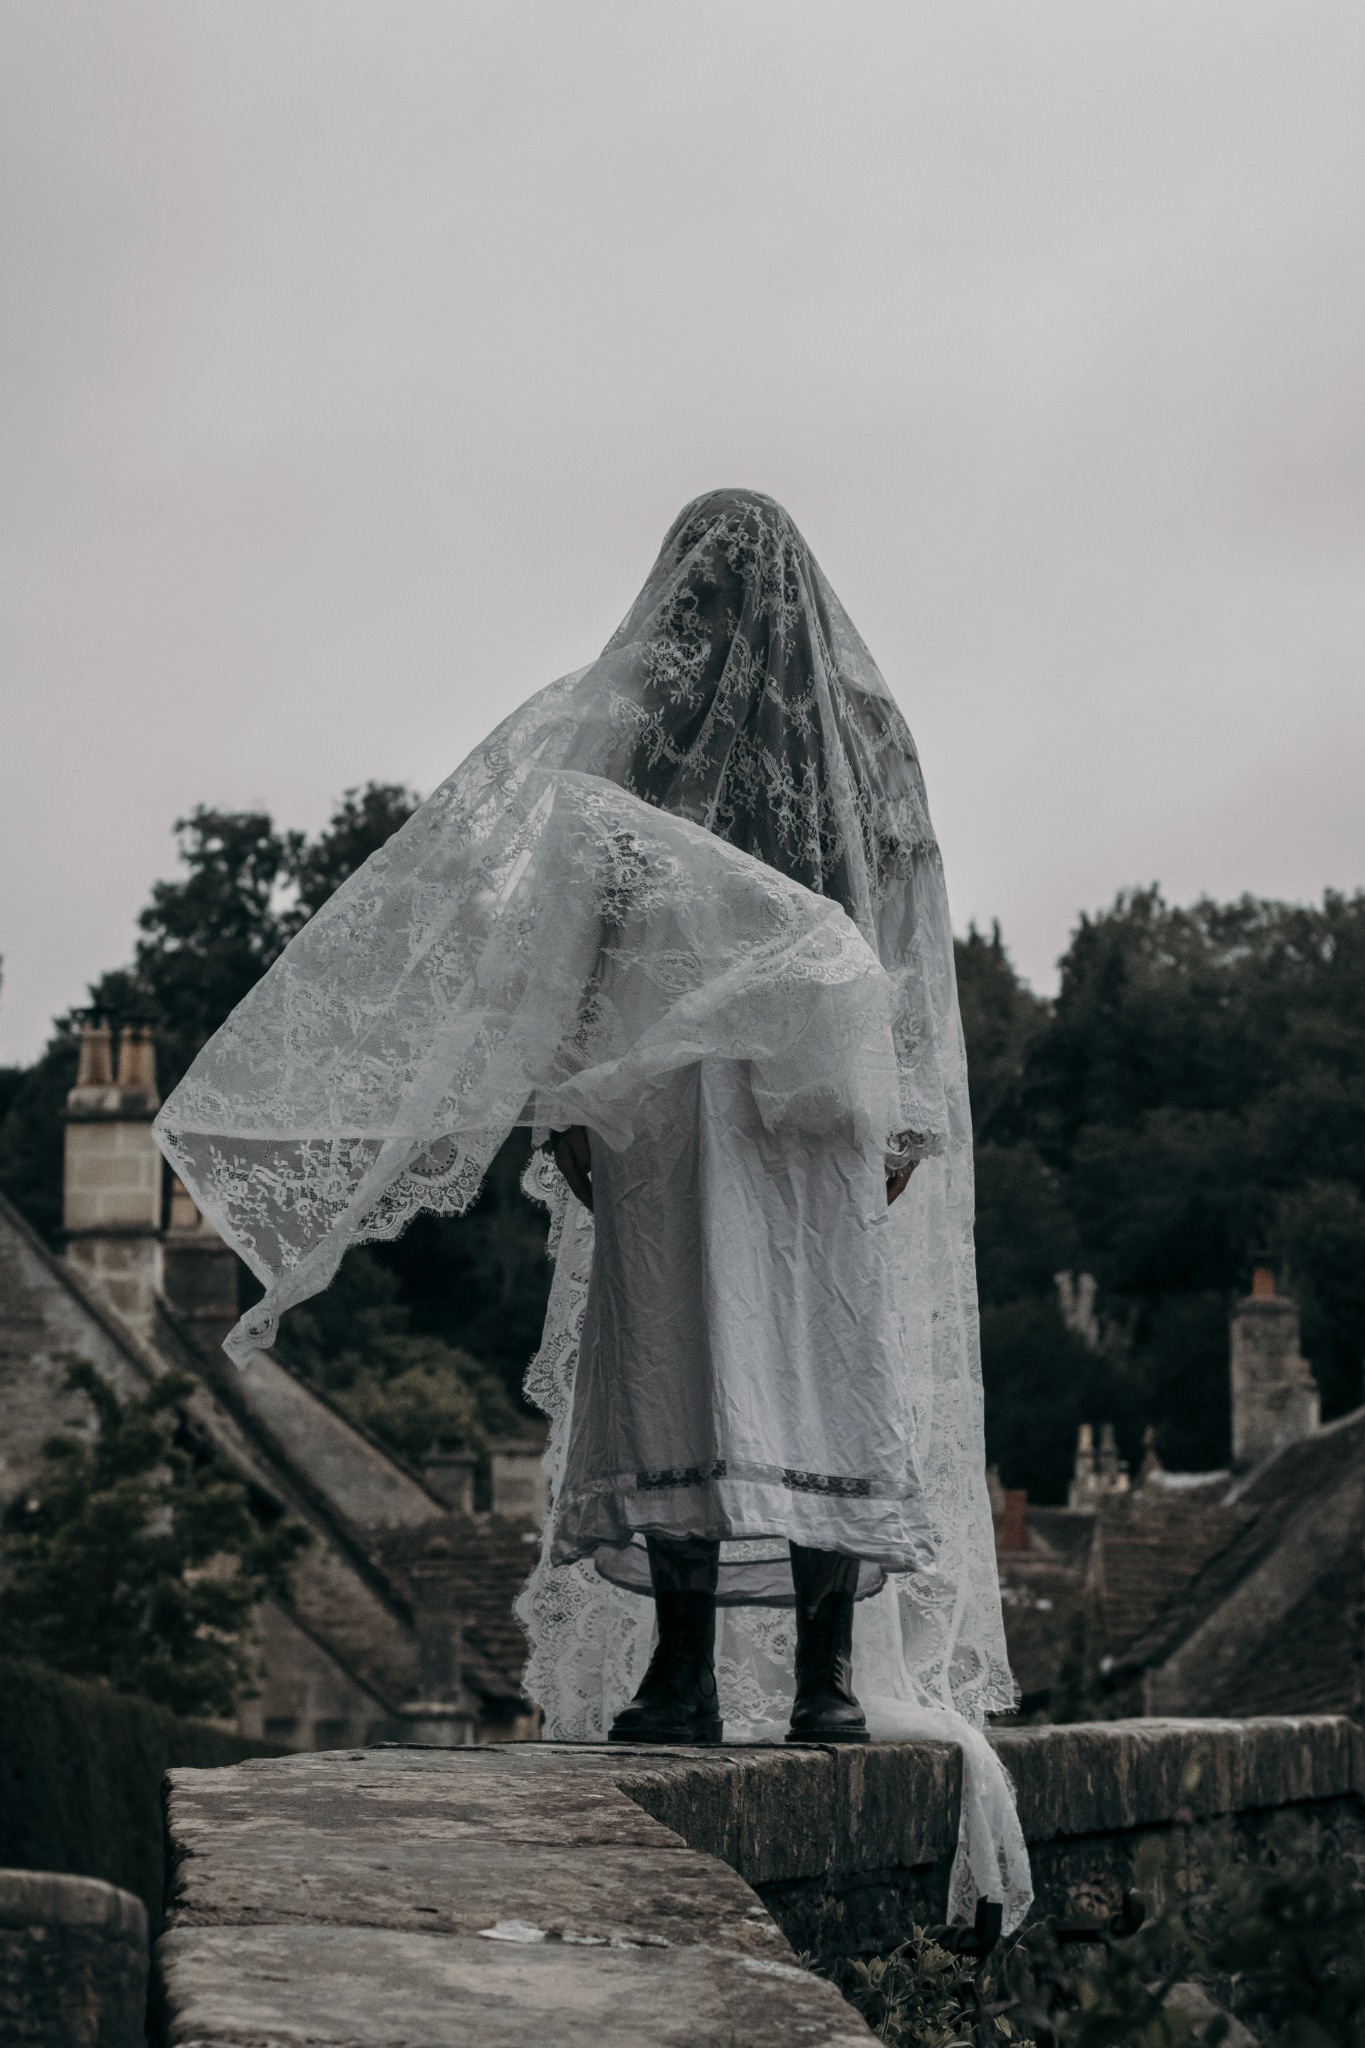
3. Keep the modern world out of the frame
The fastest way to break a horror image is to leave something in it that dates the picture, especially if your theme isn’t of that era. A bit of litter, a wire fence, a plastic bin, a modern car etc.
Look through your screen or viewfinder before you shoot and clear what you can. What you cannot move, shoot around.
4. Embrace the shadows
The single biggest improvement most horror photographers can make is to leave the dark parts dark.
The instinct I had as a wedding photographer was always to lift shadows, but as a horror photographer, I rely on them often. A good eerie effect is to leave some detail in the shadows and keep your viewer guessing.

5. Put something unusual in frame
Leave a second (or multiple) figure far back in the trees or a shape at a window, keep it unobtrusive, and let the viewer find it a second or two after they have taken in your subject, because that delay between looking and noticing is where the horrible feelings creep in.
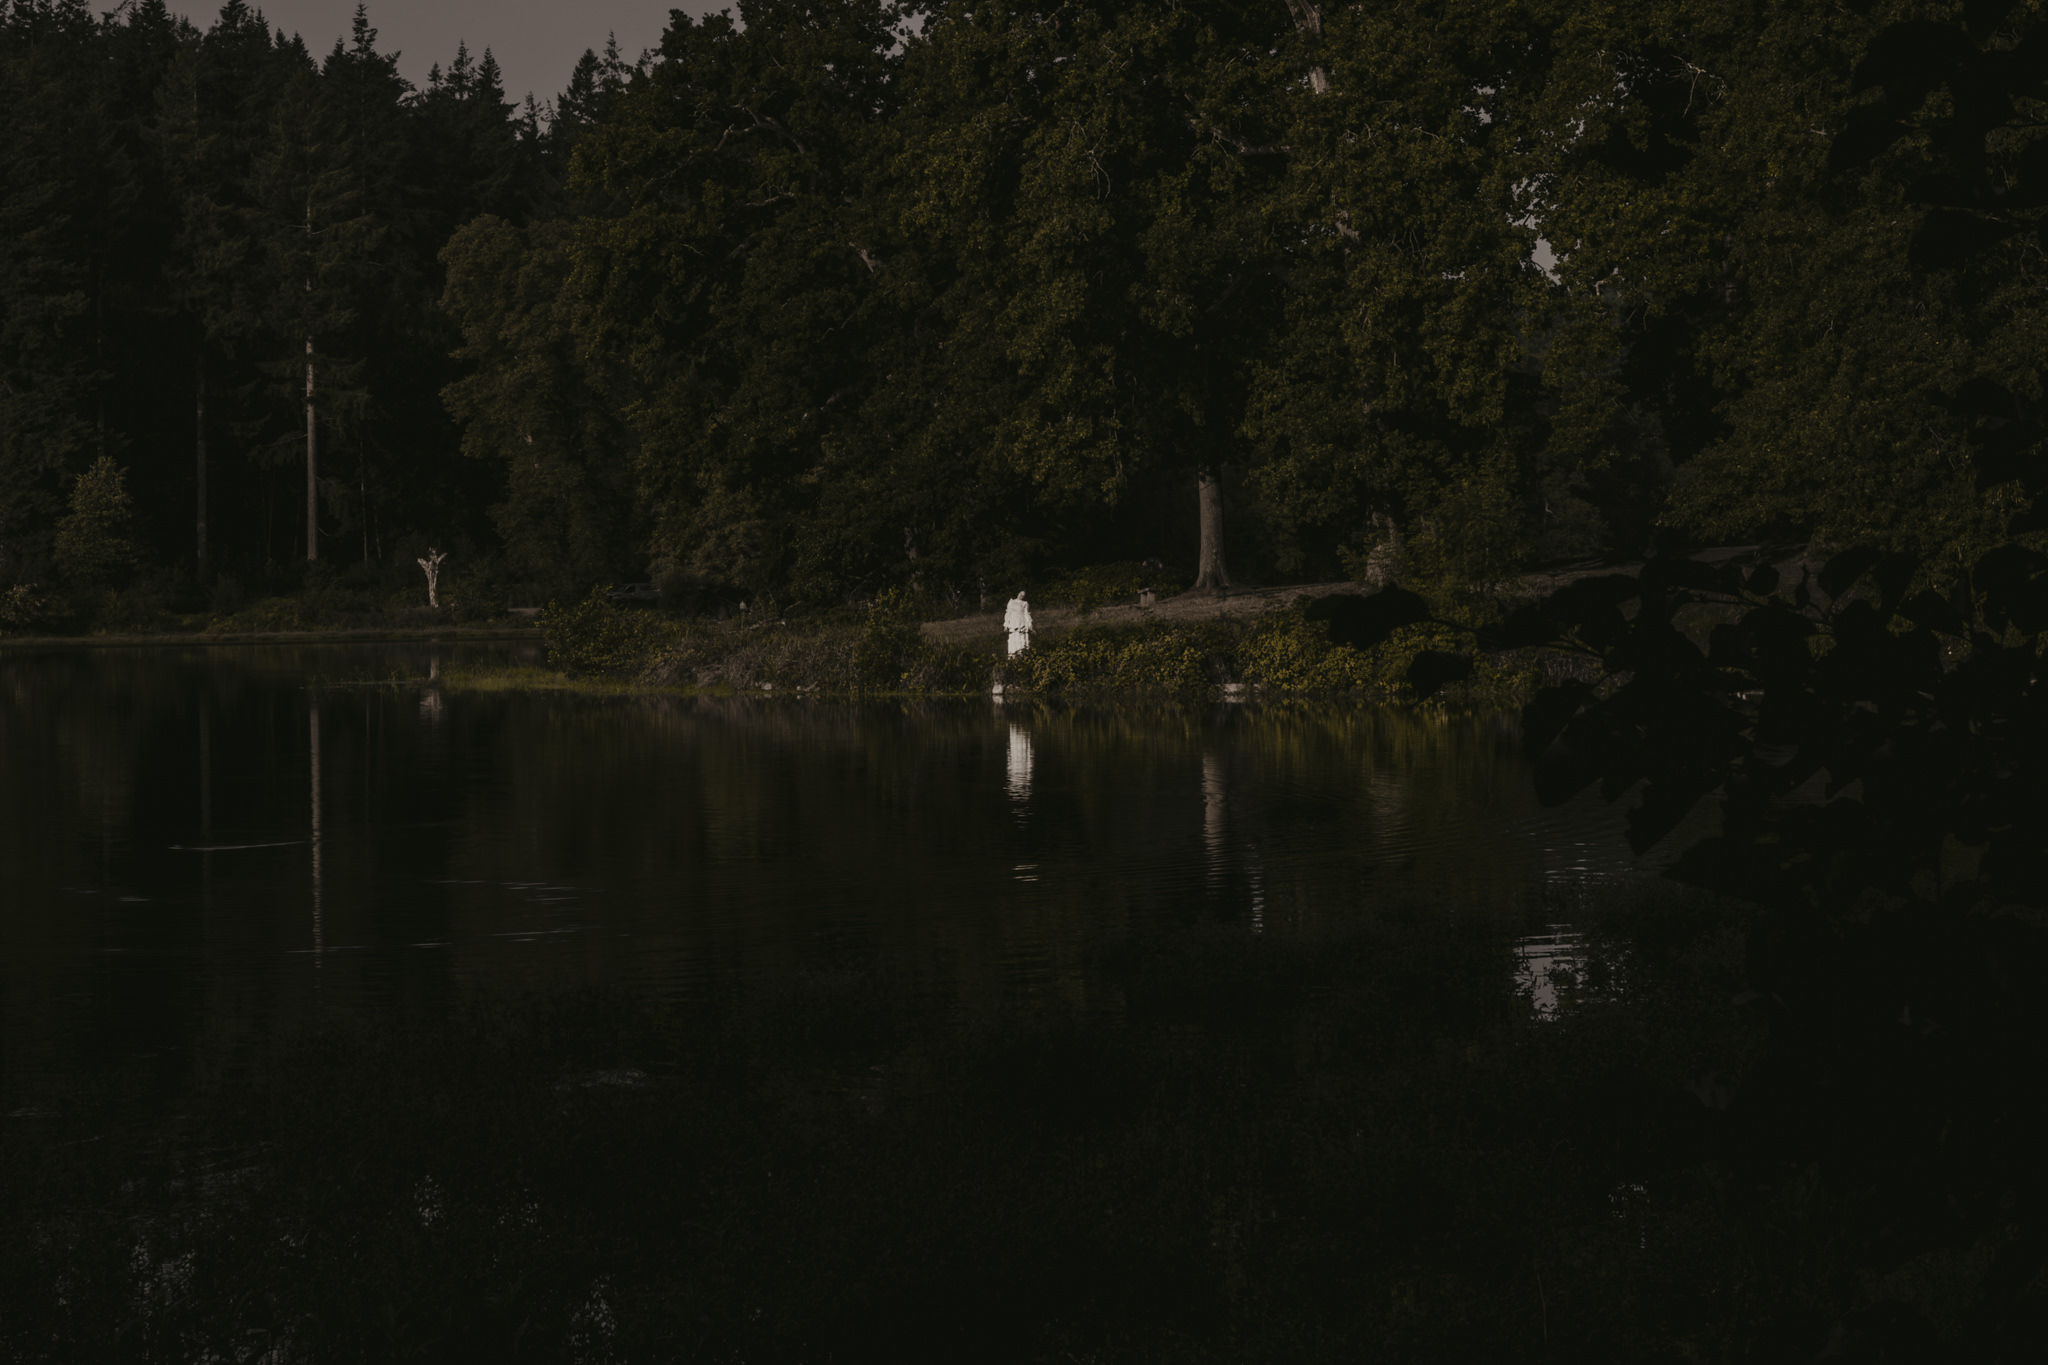
6. Take eye contact away
Give your subject something else to hold their attention, whether that is a point in the distance or a task to carry out, and the image stops being a portrait and starts feeling like something taken by a person who should not have been there. This is especially useful for found footage/documentary style horror.

7. Work with a slow shutter speed
With the camera on a tripod and the shutter held open for a second or more, anything that moves during the exposure records as a ghostly trail while everything else stays sharp, and the resulting image gives you a really good supernatural image.
It’s worth experimenting with this, as you can get different effects with different lengths of time the shutter is open.
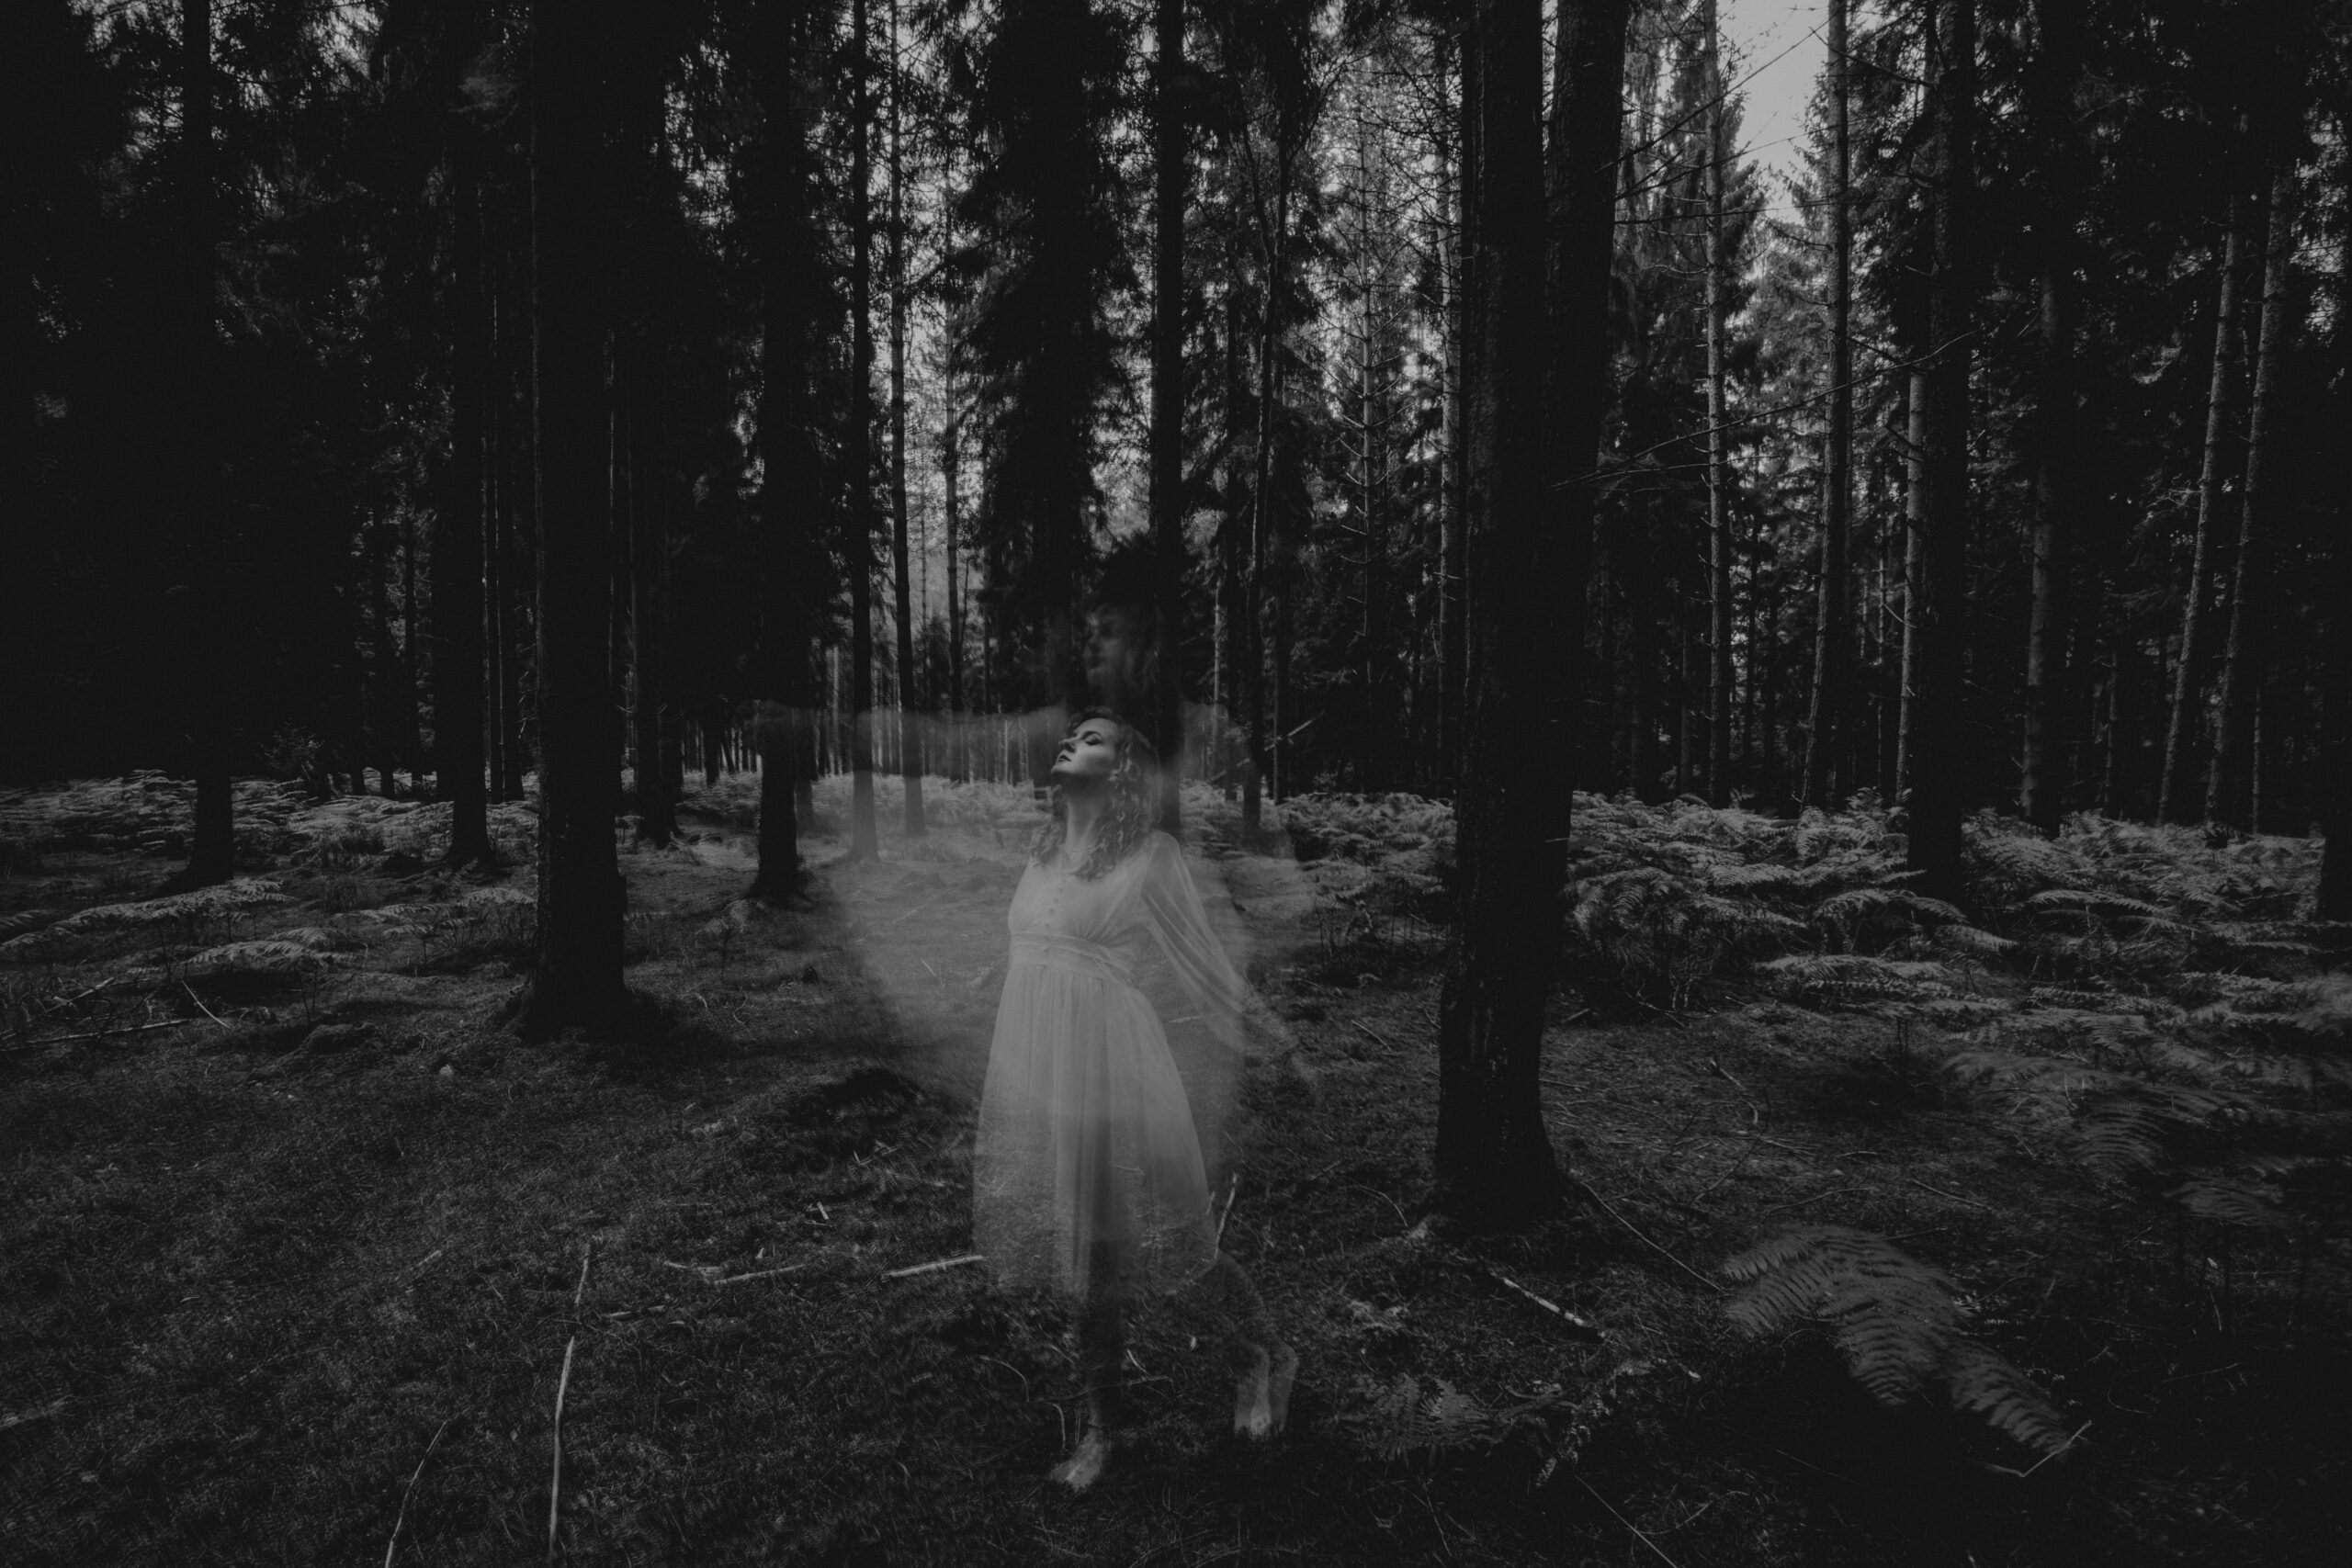
8. Use motion blur
Beyond the basic ghost, try moving the camera instead of the subject, or having someone walk out of frame partway through the exposure so they half vanish.
Give yourself a full session to experiment rather than squeezing it into a shoot with a shot list, and note down your settings for next time.
9. You do not need to buy purpose-made props
Most of what ends up in my images has come from eBay, charity shops, Vinted or the woods themselves, and once you start customising things by ageing, breaking or dirtying them, an ordinary object will photograph far better than anything sold as a horror prop.
10. Shoot through something
Almost every horror shoot I do ends up with a tree, branches or long grass sitting between me and my subject, because putting something in the foreground stops the viewer feeling like they are just looking at a photo and makes them feel like they are watching it from a distance instead, which is a far more uncomfortable place to be.
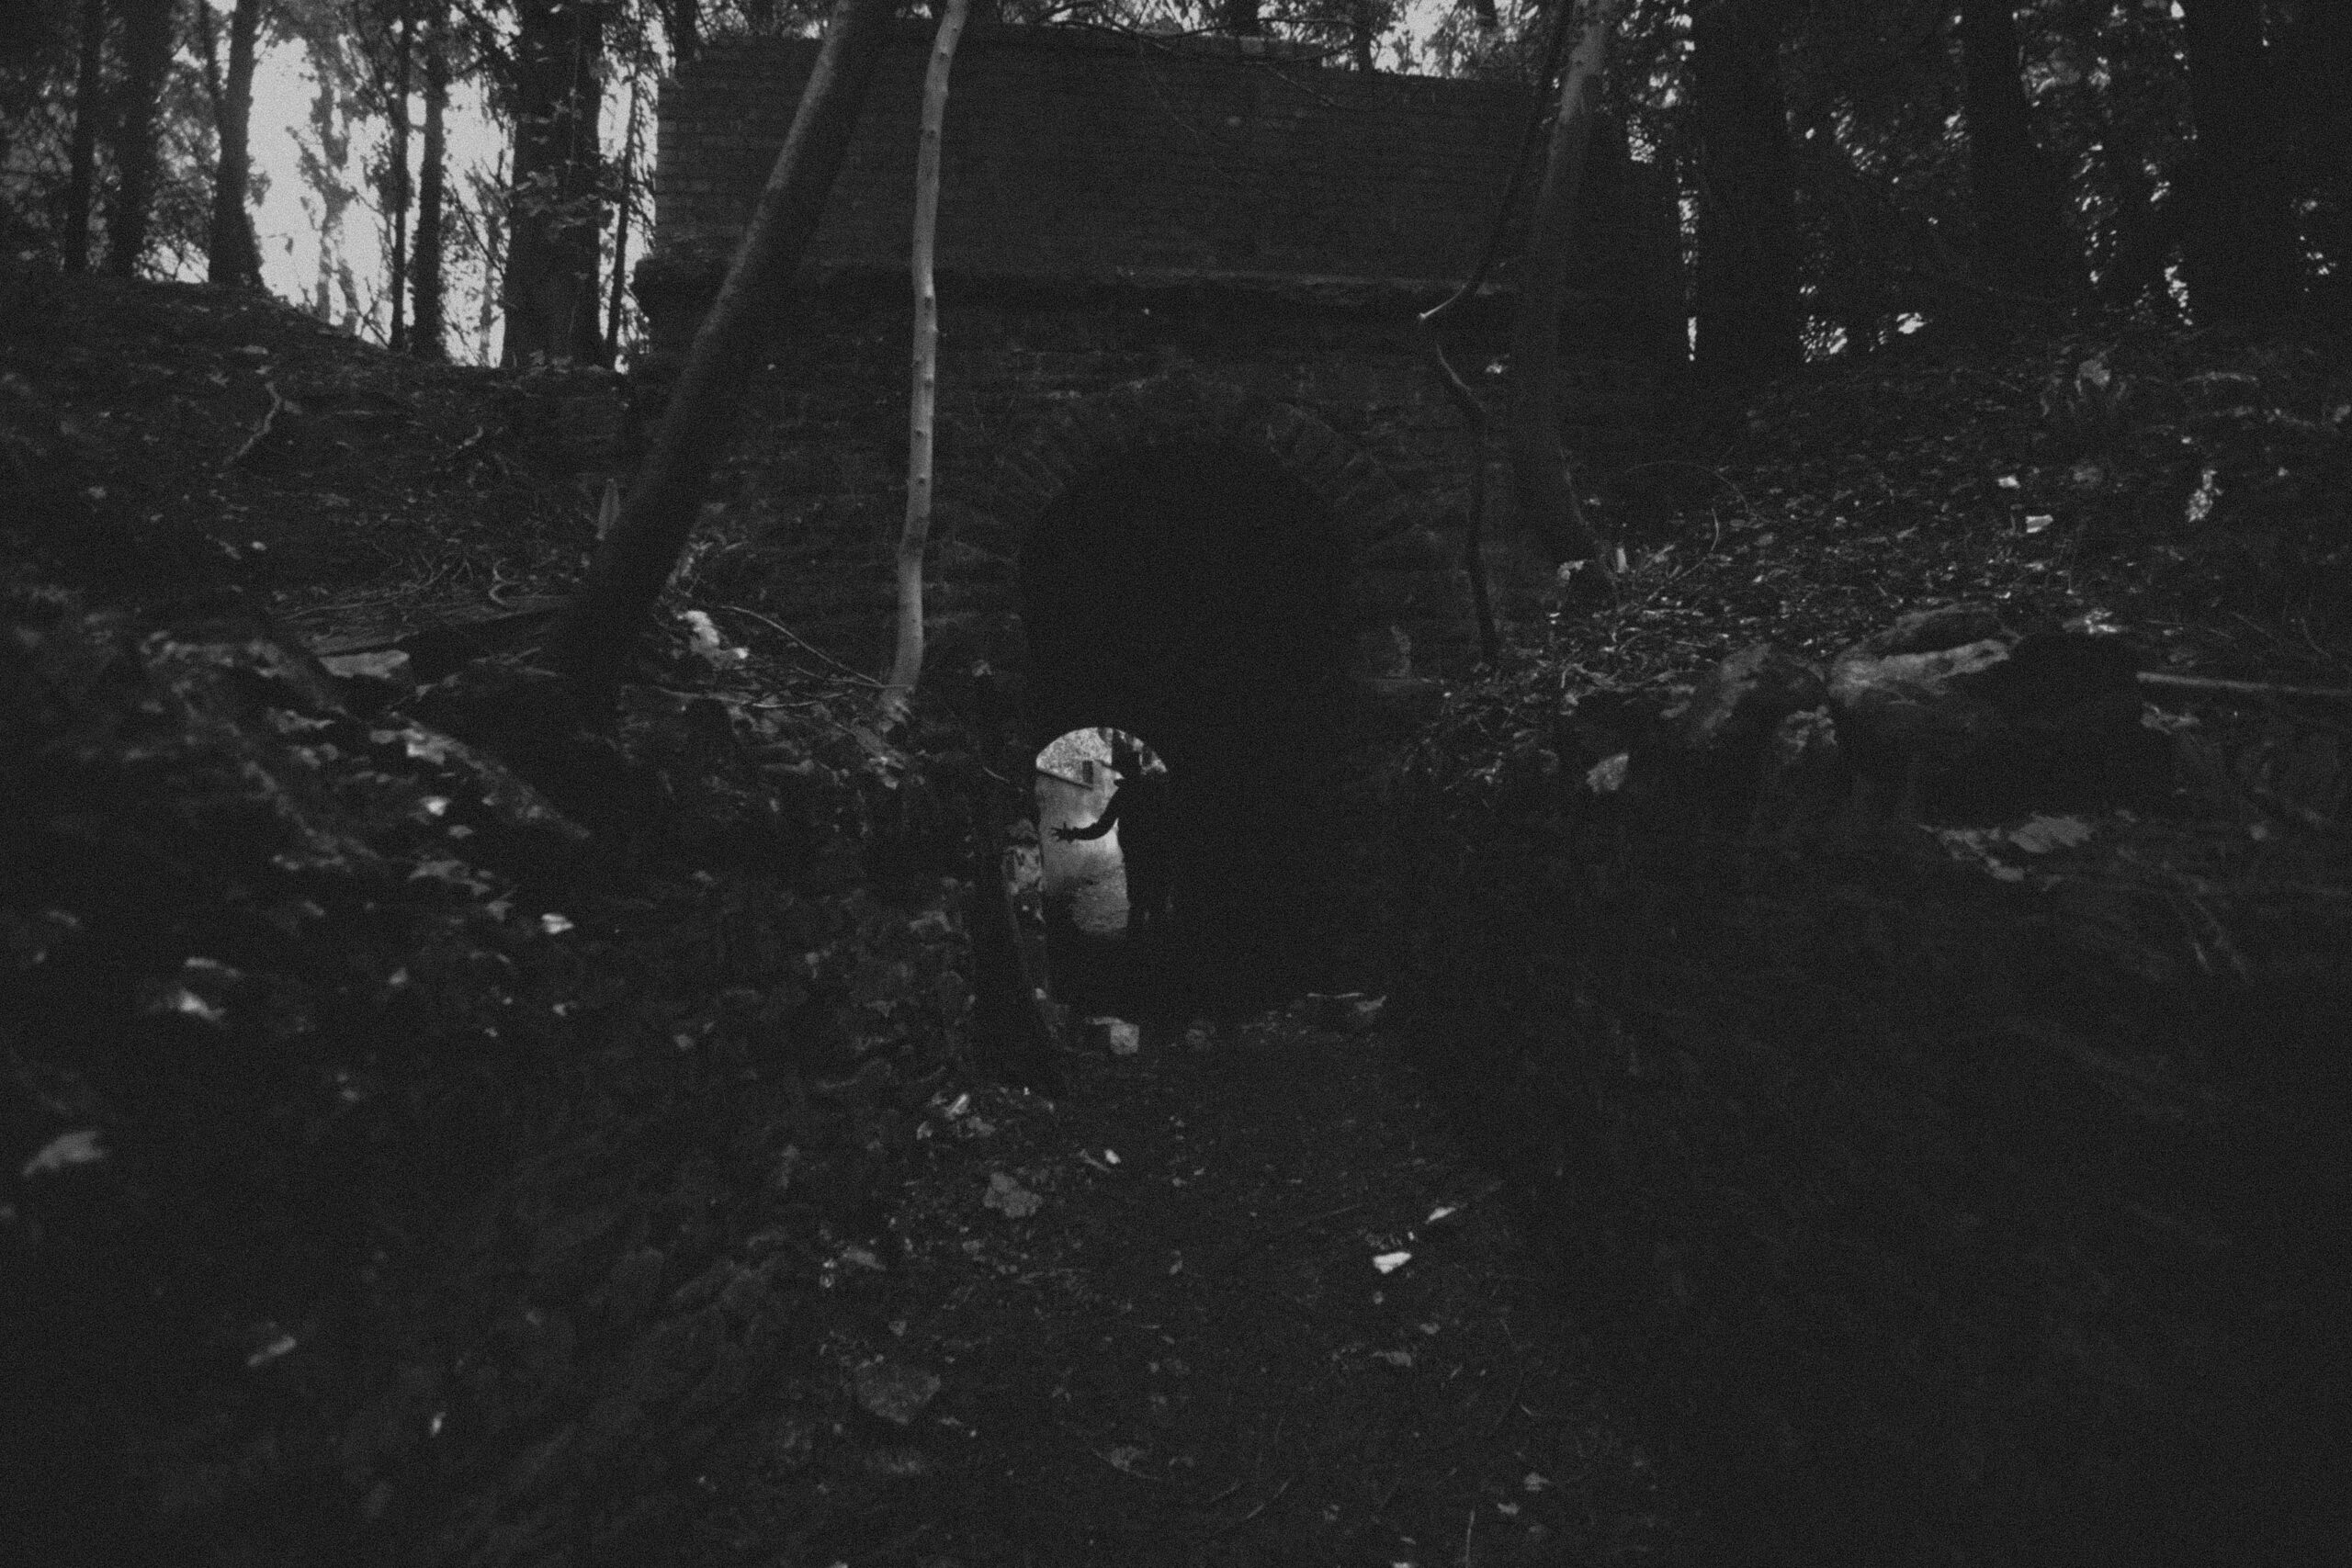
12. Show less of the face
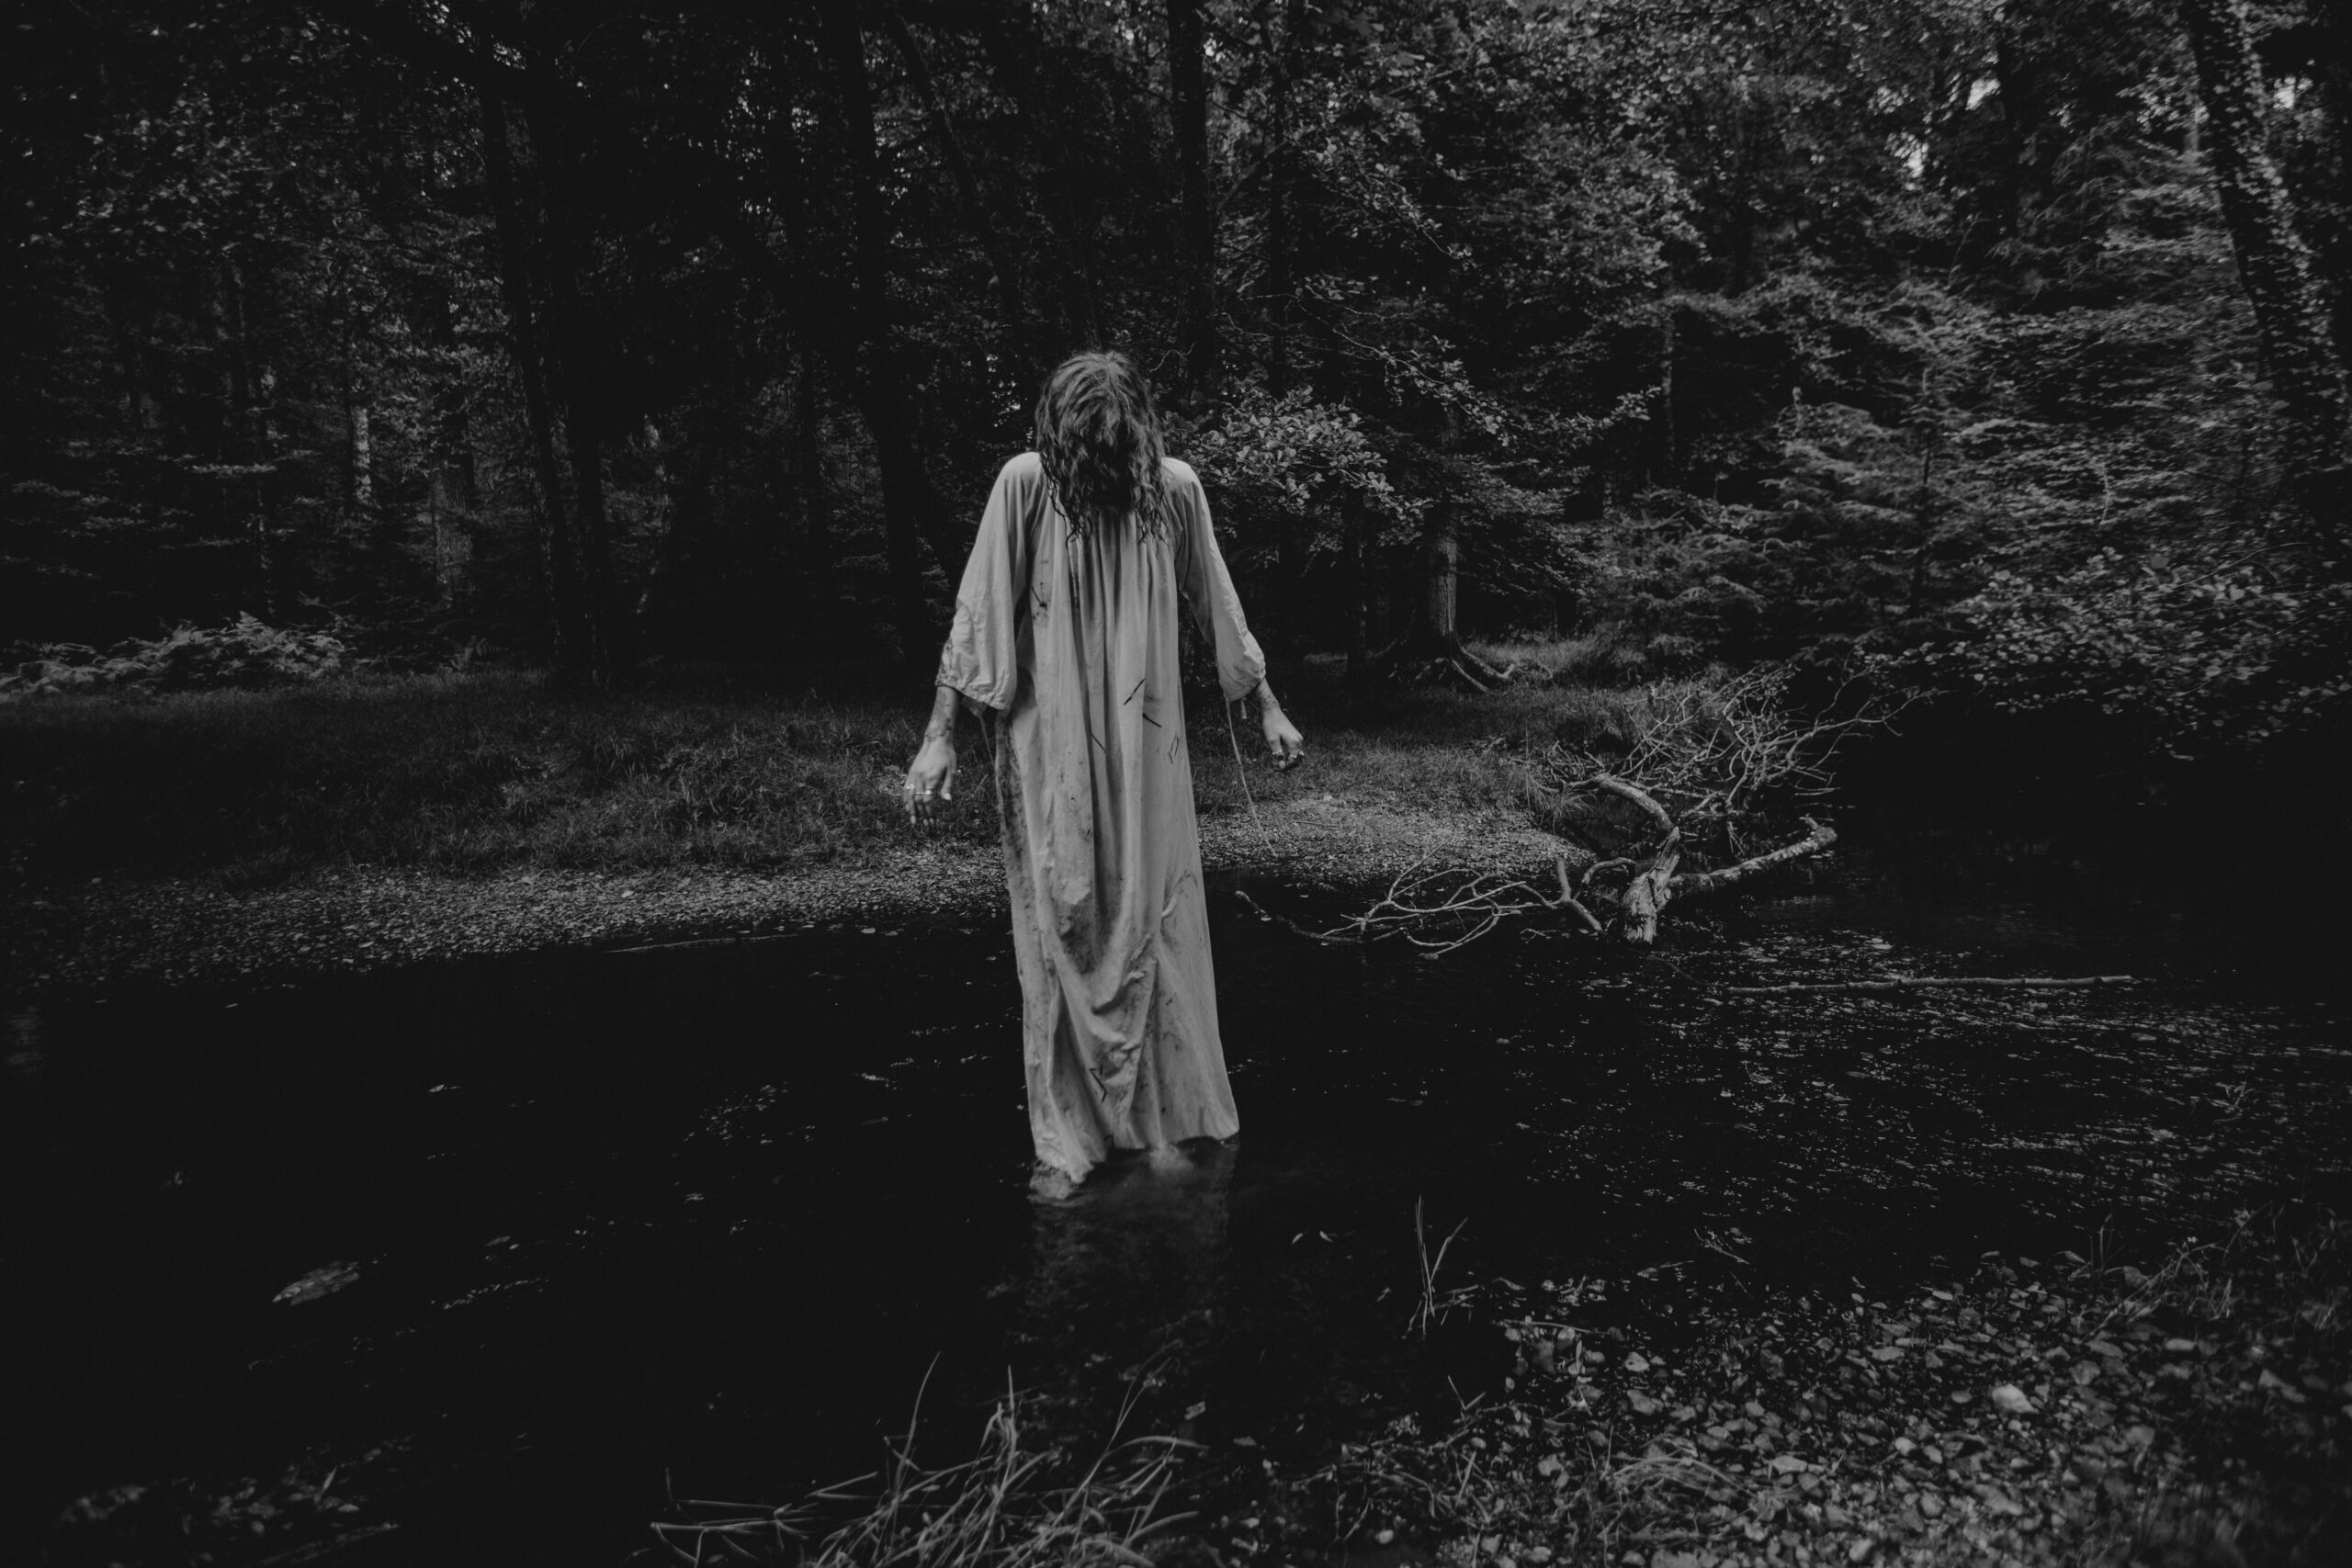
A readable expression tells the viewer exactly how to feel, so the moment they can see it they stop imagining and start interpreting, which is why a turned back, or a face lost behind hair or a mask, will unsettle somebody far more than any portrait where everything is on show.
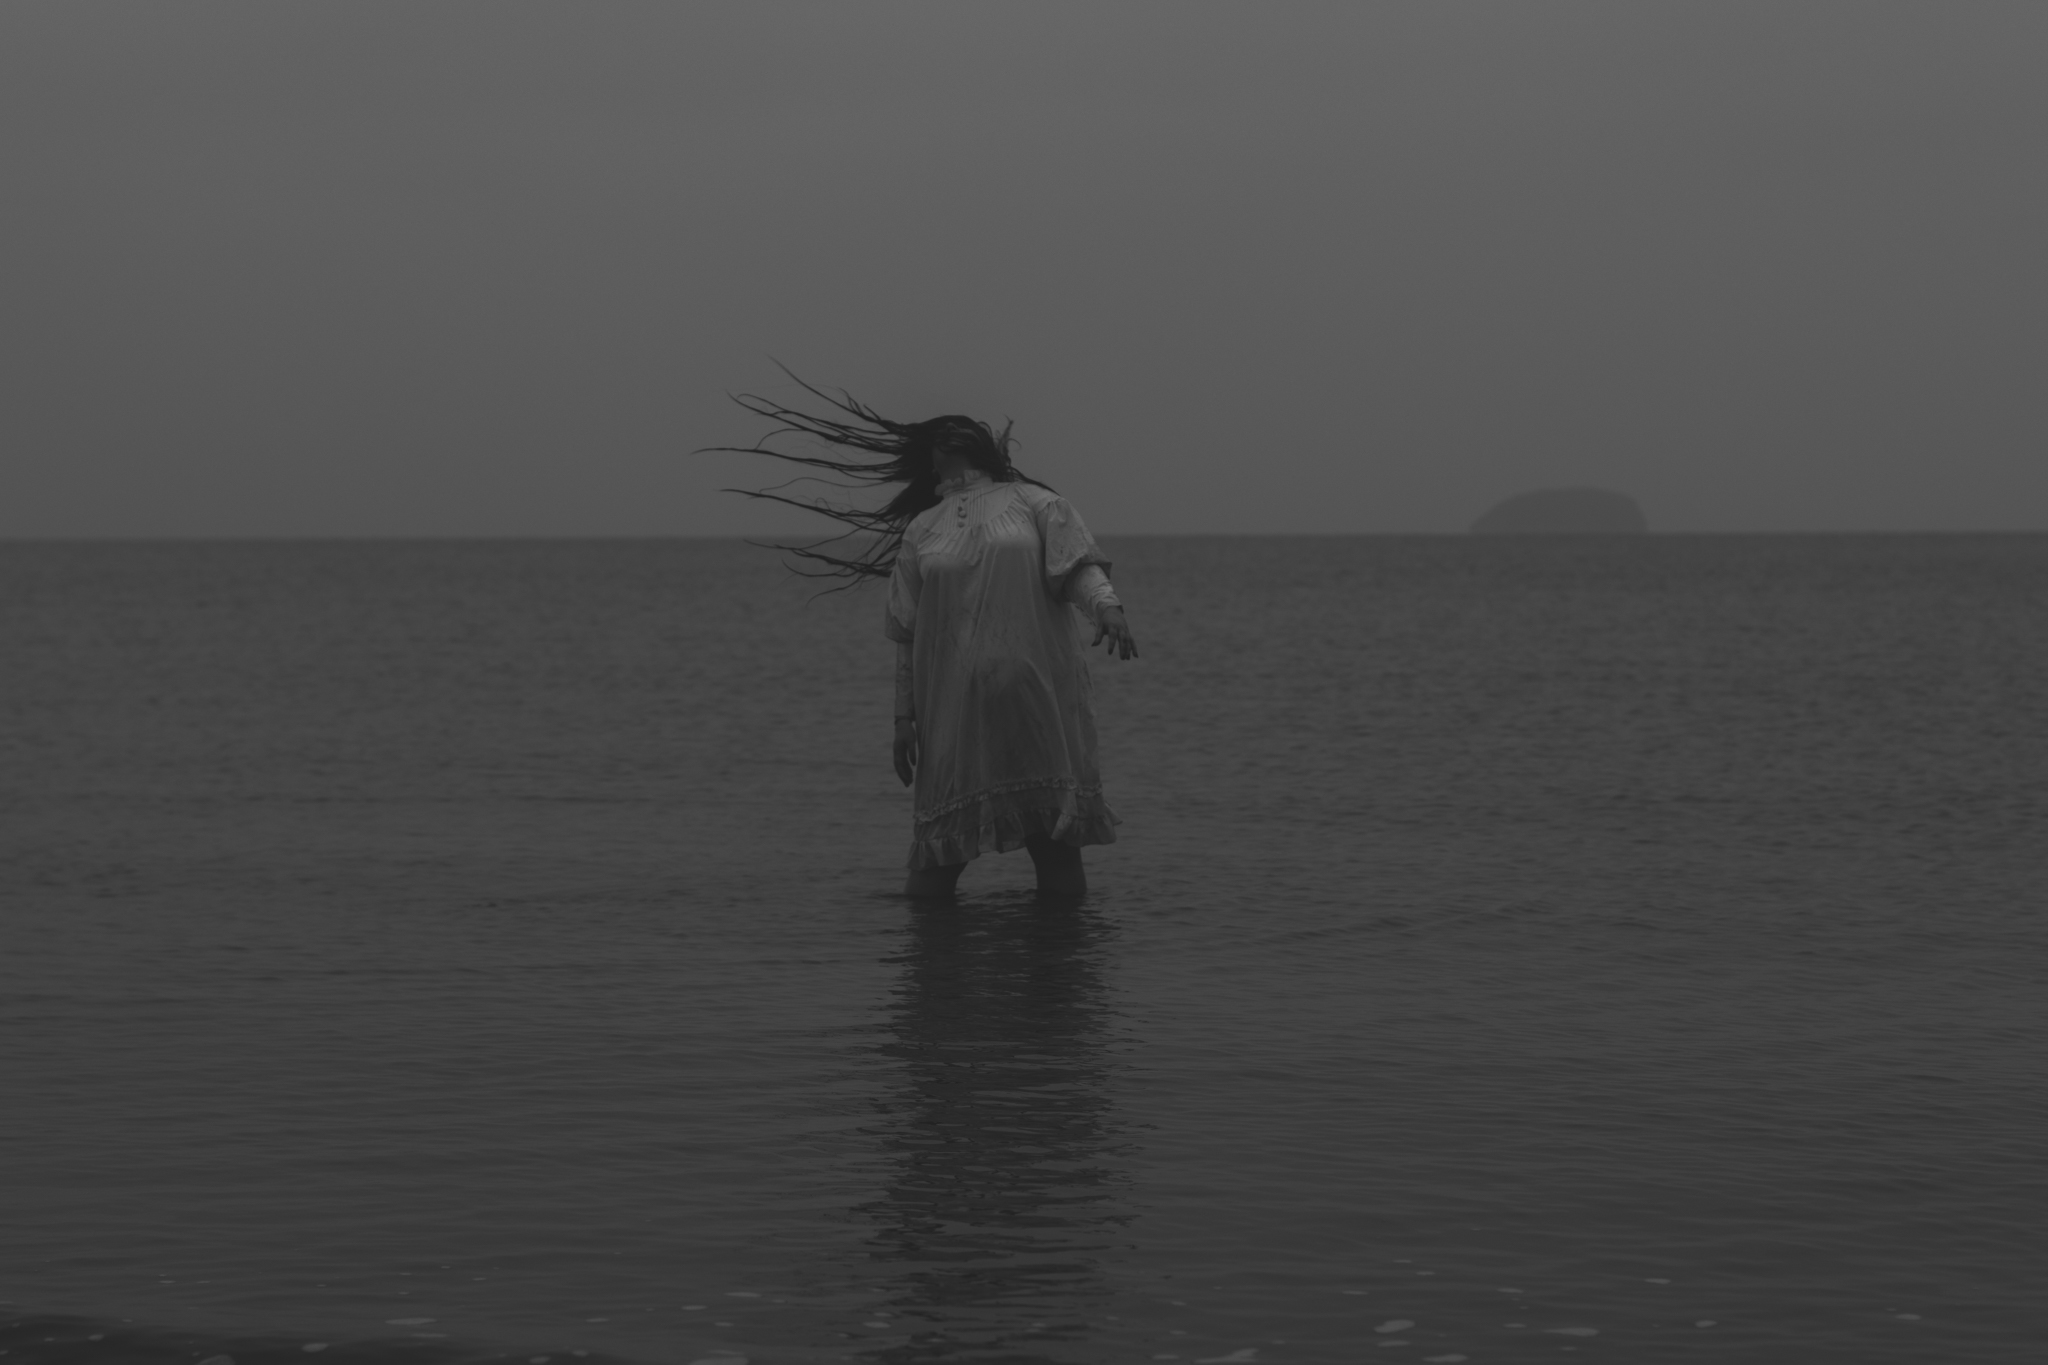
13. Direct with physical instructions, not emotional ones
“Look scared” gets you an over-the-top, cheesy acting face, and we’re not shooting for EastEnders. Telling someone what unconventional position you need their body in, and what they should look at, or where they need to run, gets you the shot you need.
Some people you photograph will never have modelled before, but if they have, you’ll need to direct them away from fashion/glamour posing and toward action.
Show them what you want them to do if it’s too complicated to convey in words.
14. Make costumes look well used
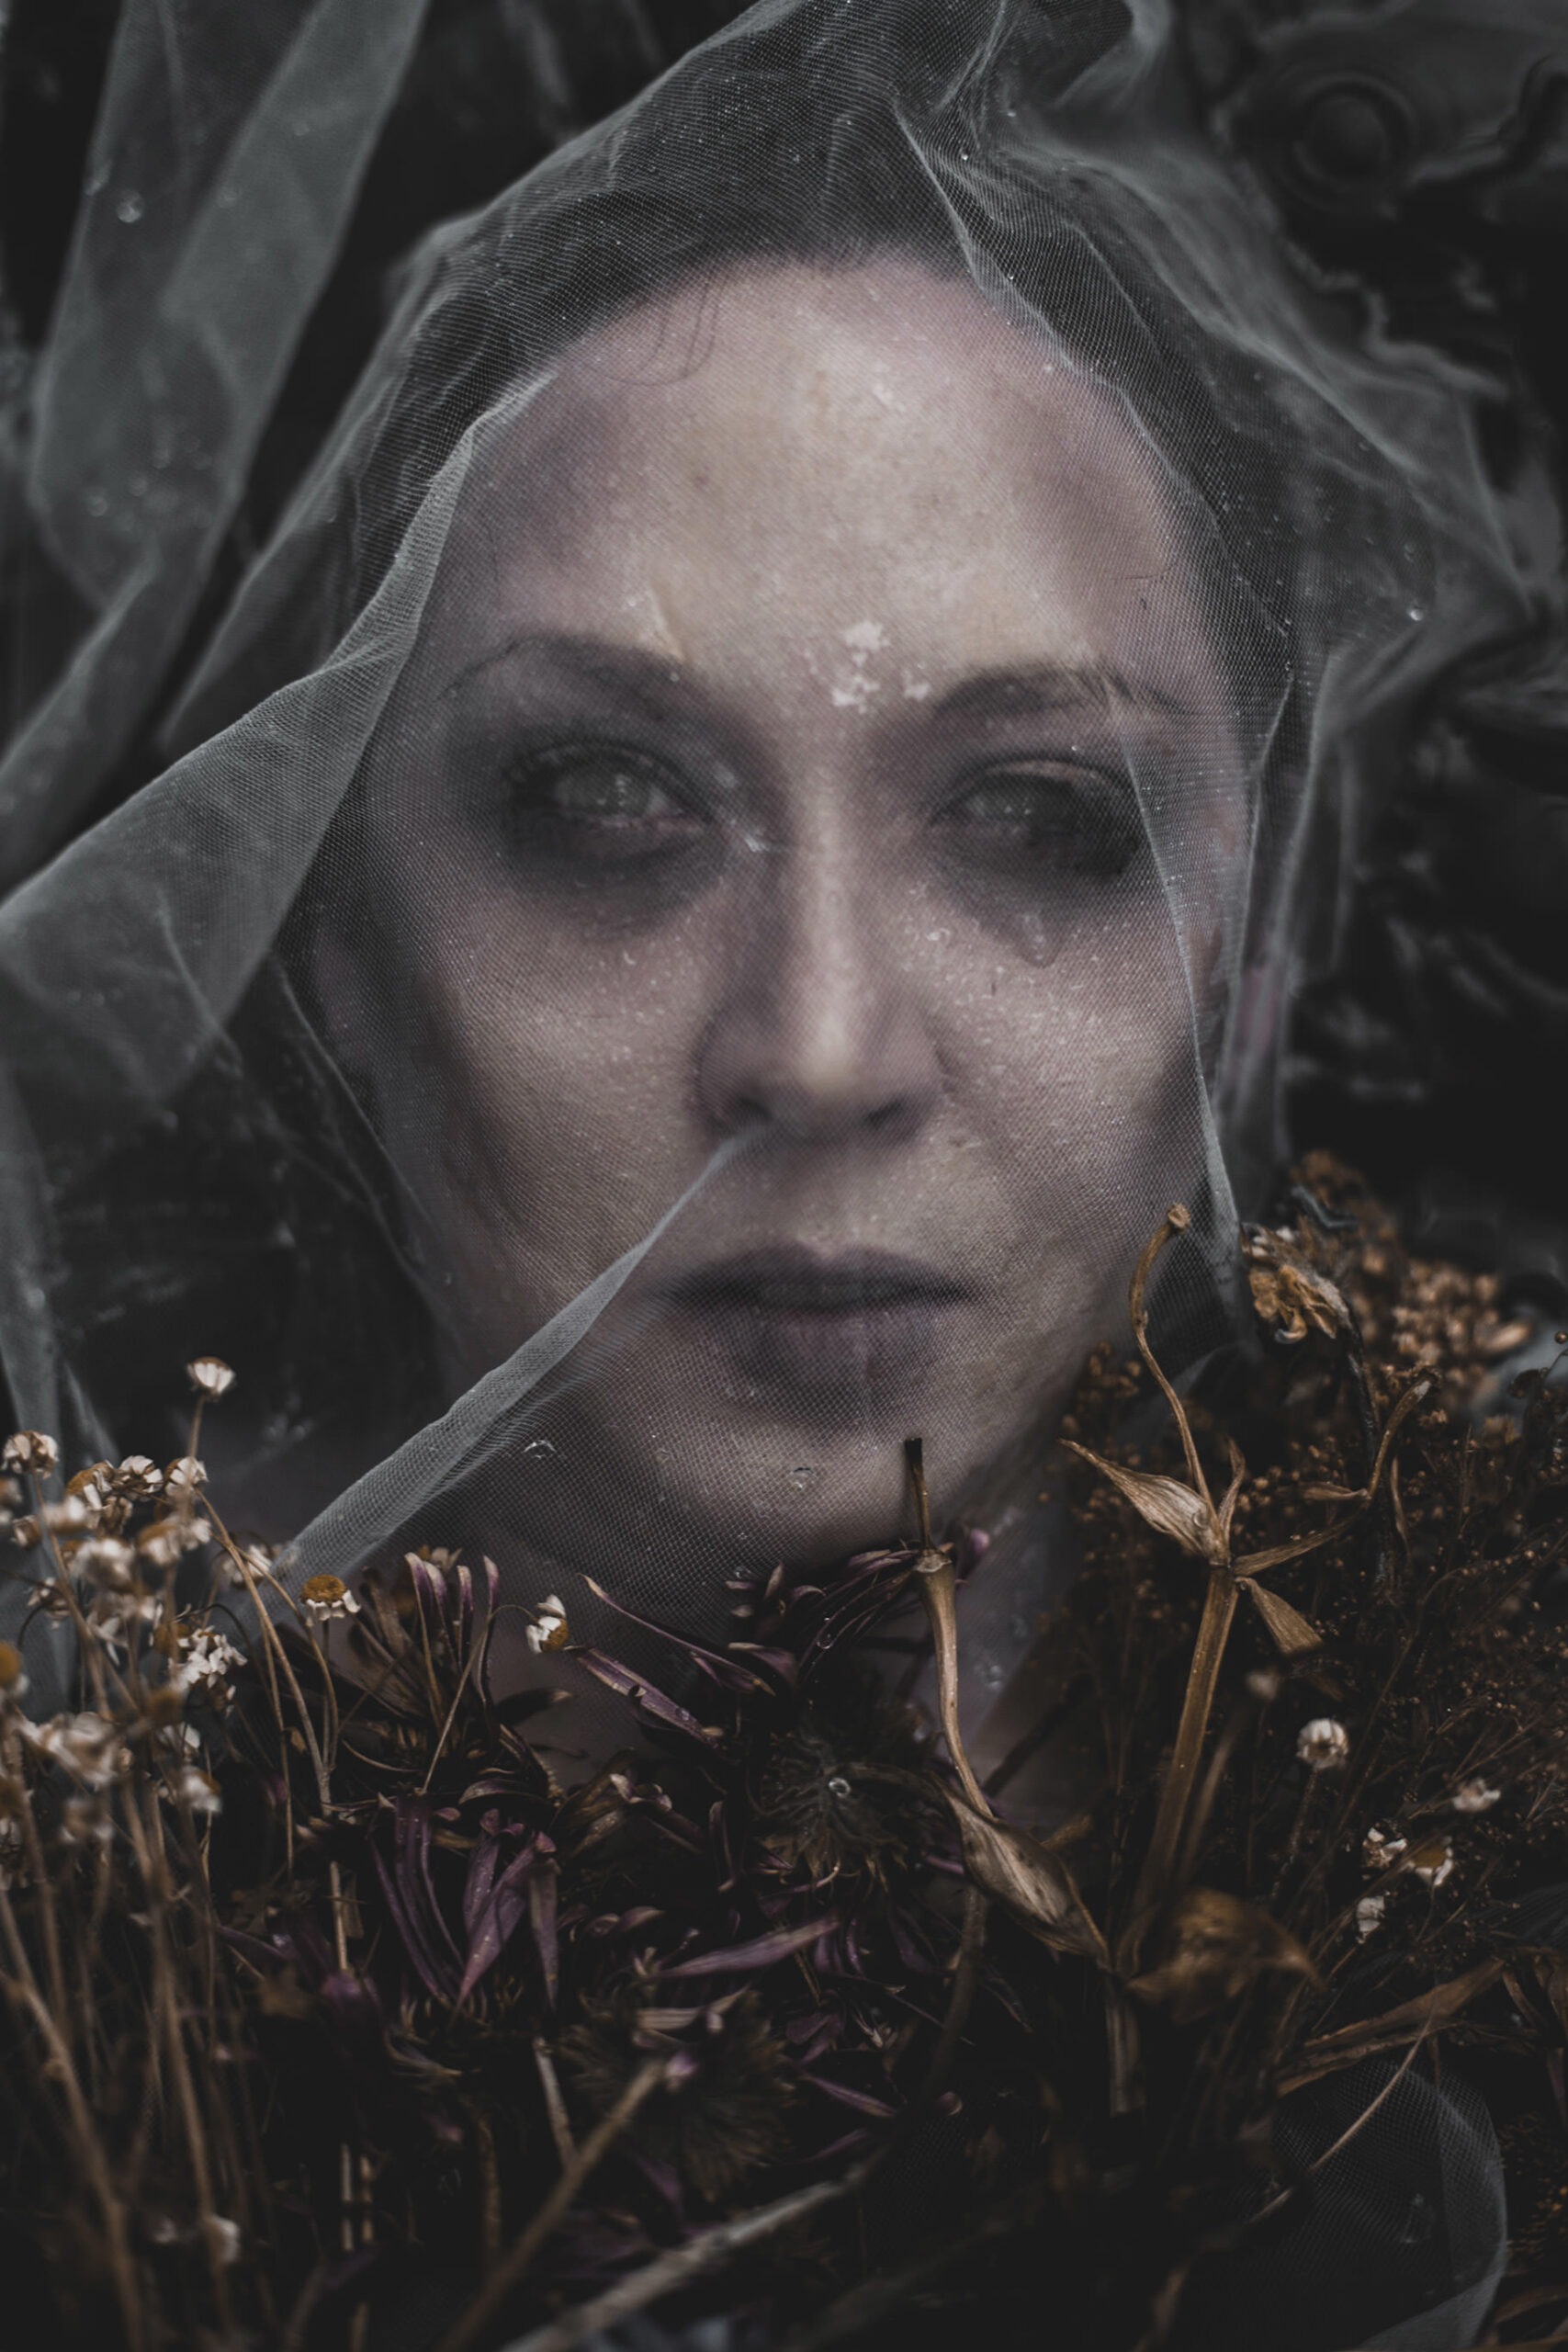
Veils, sheets, and long dresses photograph beautifully, but they look particularly creepy when you make them look well worn. You could wet them with a spray bottle, rub them in mud, or even tea-stain them before the shoot.
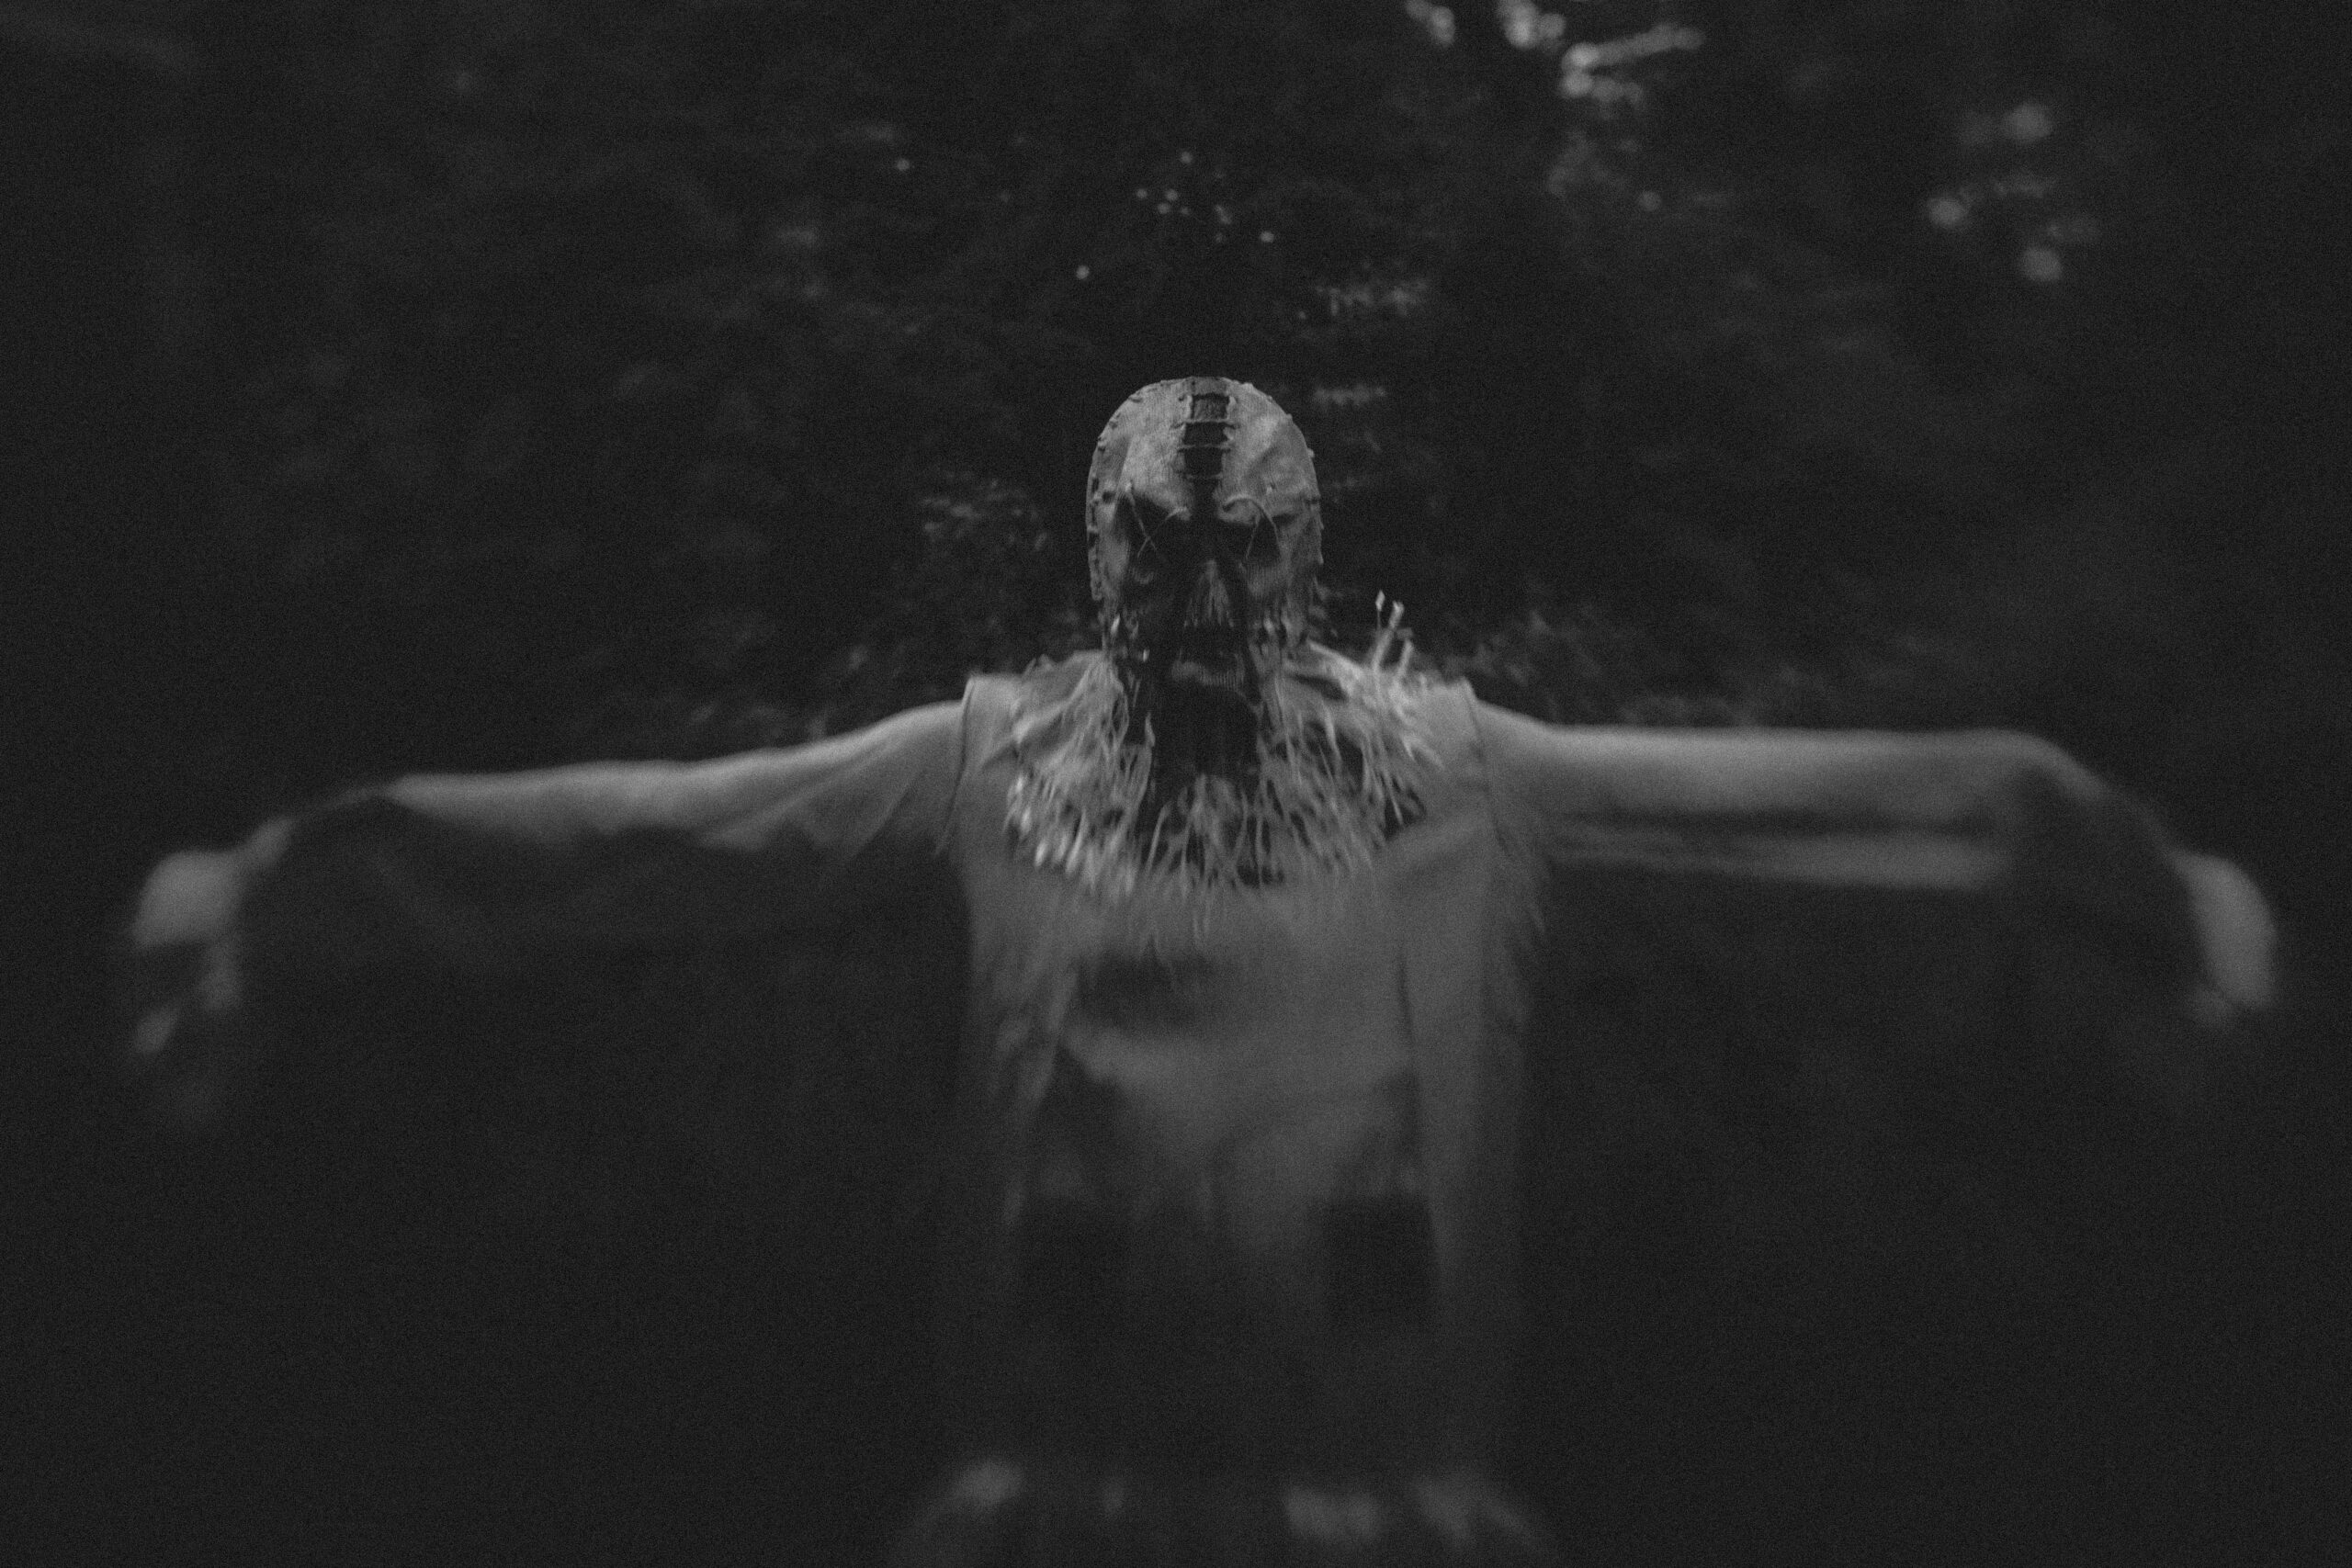
15. Edit for horror in post-production
I personally colour grade with a limited palette, crush the blacks slightly, and add grain to black and white images so the photograph looks like old film.
I keep skin retouching light, because I don’t want to beautify or modernise my subjects too much.
In Photoshop, I will use layer masks to composite several exposures together if I’m going for a surreal image.
A Note on Halloween Photography
A Halloween photoshoot with someone wearing a pumpkin head or a sheet with sunglasses is not quite the same as a horror or dark conceptual shoot, and the aim there is spooky photos rather than genuine horror.
These horror photography tips will be useful year-round. Shoot in February, and you get bare trees, real fog and nobody else around. Shoot in July, and you get harsh shadows and overgrowth.
If you’re looking for some scary Halloween photography tips, check out my post on Halloween Photography Ideas on Photography Roadmap.
If you would rather be photographed than do the photographing, I shoot horror in Somerset and the surrounding area, so get in touch about booking a session.


